Honey Lemon Pepper Wings Recipe
Introduction
Honey lemon pepper wings are chicken wings coated in a sweet‑tangy glaze made with honey, lemon juice, and cracked black pepper. This quick recipe shows you how to season, cook, and finish the wings so they stay juicy inside and crisp outside.
In this guide you’ll receive a step‑by‑step method that fits One Pan’s high‑protein, zero‑dinner‑stress approach, plus tips for using an air fryer or oven, a simple homemade lemon pepper seasoning blend, and food‑safe internal temperature guidance. The result is a crowd‑pleasing dish that balances sweet and citrus flavors with a peppery kick, perfect for any gathering.
Honey Lemon Pepper Wings Ingredients

Preparing these citrus‑sweet wings starts with a short list of pantry staples that deliver flavor without unnecessary complexity. Choose each component with care to ensure the final dish is juicy, aromatic, and balanced.
The core ingredients are chicken wings, honey, fresh lemon juice, freshly cracked black pepper, unsalted butter, and any optional spices you like to boost the profile. Using USDA‑approved chicken guarantees that the meat meets federal safety standards, while a high‑grade honey provides natural sweetness and a smooth texture. Freshly squeezed lemon juice contributes bright acidity, and a generous grind of black pepper adds the signature bite.
For the seasoning, you can either blend your own homemade lemon pepper mix or rely on a store‑bought version. A DIY blend typically combines lemon zest, cracked black pepper, salt, and a touch of garlic powder, giving you control over salt level and flavor intensity. Store‑bought blends are convenient but may contain added anti‑caking agents or preservatives that alter the taste.
- Chicken wings should be thawed completely and patted dry before seasoning to promote even browning.
- Honey of floral origin, such as clover or wildflower, adds depth without overpowering the citrus notes.
- Fresh lemon juice, not bottled, provides the bright acidity that balances the sweetness of the honey.
- Black pepper, coarsely ground, delivers the characteristic peppery heat and texture.
- Unsalted butter melts into a glossy glaze and lets you adjust the salt level to taste.
- Optional spices like garlic powder, smoked paprika, or a pinch of cayenne can be added for extra complexity.
- Homemade lemon pepper seasoning is made by mixing lemon zest, cracked black pepper, and a modest amount of salt, allowing you to avoid the additives sometimes found in pre‑made blends.
Honey Lemon Pepper Wings Preparation
Preparing the Wings
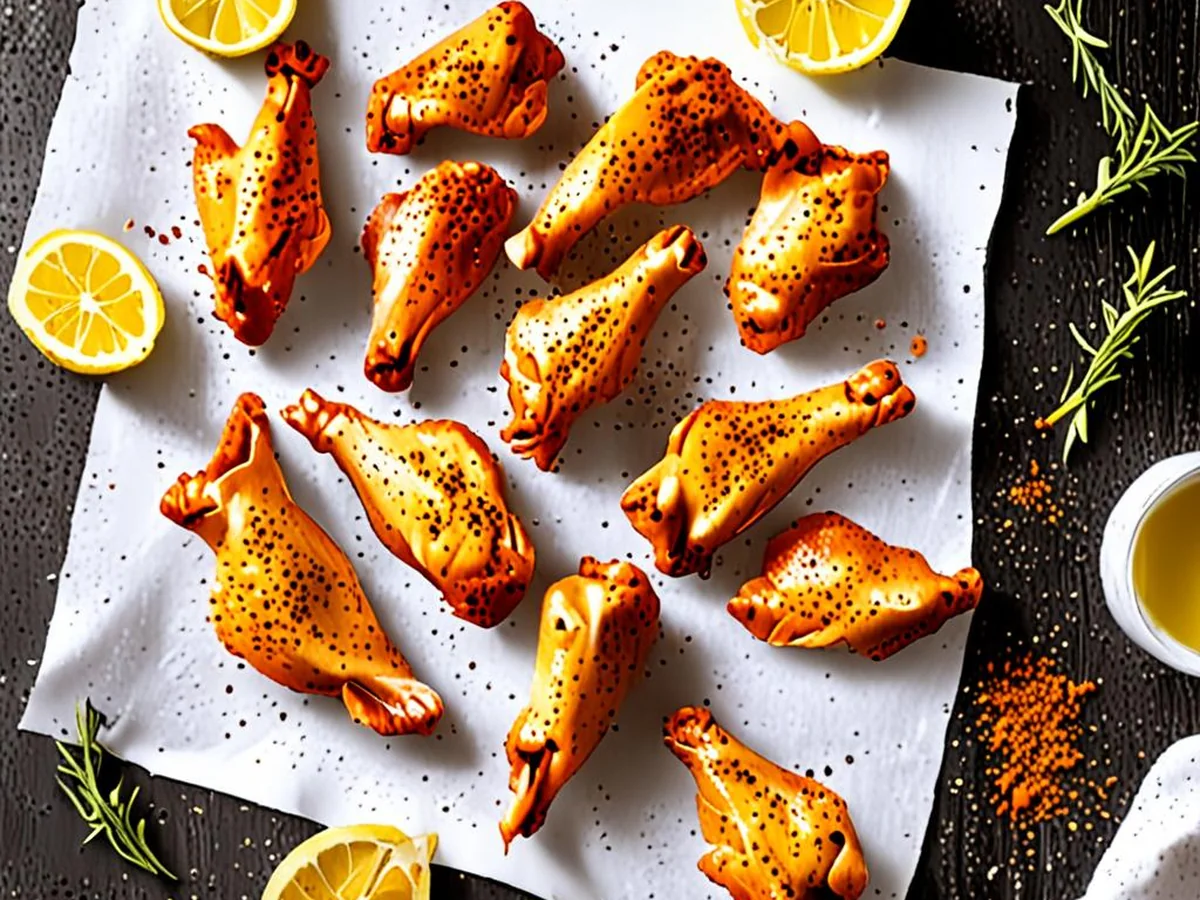
Start by rinsing the chicken pieces and then patting them completely dry with paper towels; moisture is the enemy of a crisp surface. Sprinkle a generous layer of homemade lemon pepper seasoning over the wings, tossing them until the coating is even. Let the seasoned wings rest for a few minutes so the salt can draw out any remaining surface water, which helps achieve that desirable crunch.
Making the Honey Lemon Pepper Sauce
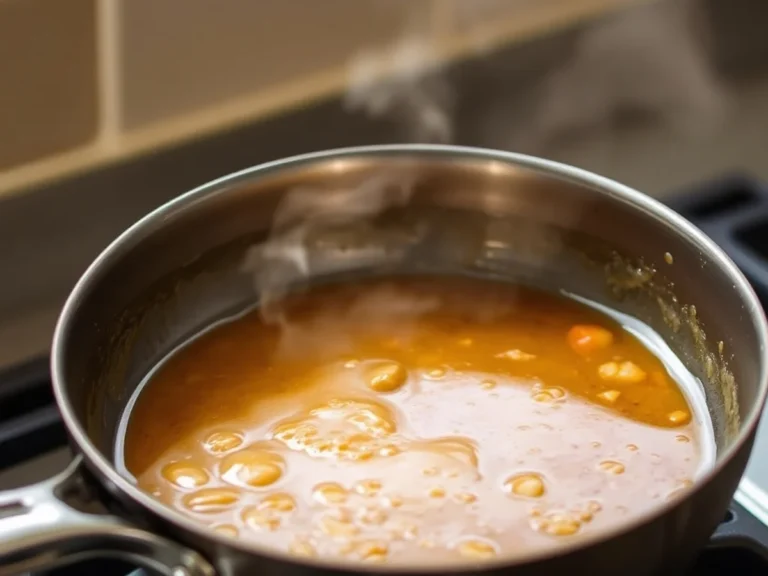
In a small saucepan melt unsalted butter over medium heat, then stir in honey until it dissolves into a smooth glaze. Add freshly squeezed lemon juice and a pinch of cracked black pepper, stirring constantly until the mixture bubbles lightly and thickens slightly. This honey lemon pepper wing sauce balances sweet, tangy, and spicy notes, and it stays fluid enough to coat the meat without pooling.
Coating and Cooking
Choose your preferred method for a one‑pan finish. For air fryer lemon pepper wings, arrange the pieces in a single layer and cook at a high temperature until the skin is golden and the interior reaches a safe internal temperature according to USDA guidelines. To bake, spread the wings on a rimmed sheet and roast until crisp, turning once for even browning; this creates baked lemon pepper wings with a tender interior. If you prefer stovetop simplicity, heat a large skillet, add the wings, and pour the prepared sauce over them, allowing the glaze to caramelize while the meat cooks through. Each technique yields a different texture but all deliver the signature sweet‑citrus pepper flavor.
Air Fryer Method for Crispy Wings
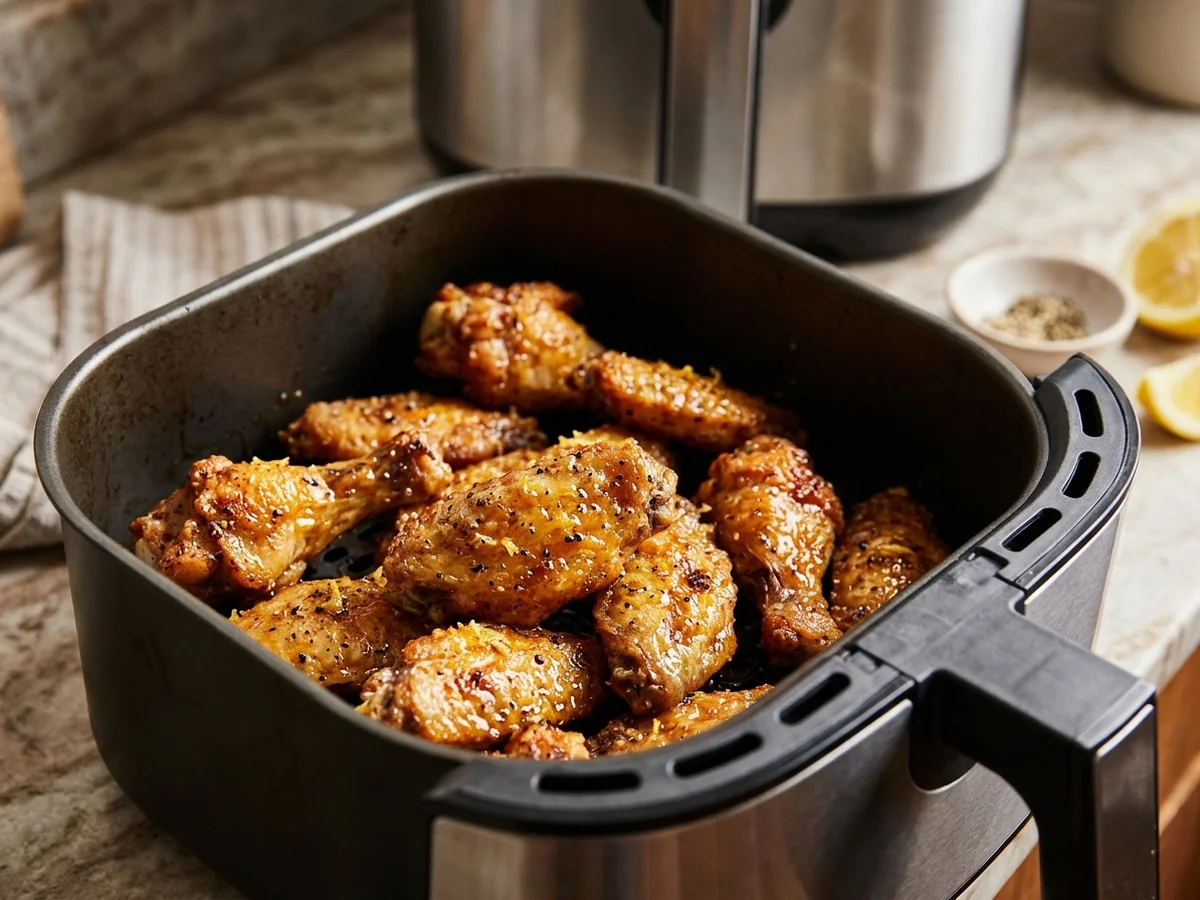
Set the air fryer to a high temperature and cook the wings long enough to develop a deep brown crust while keeping the meat juicy.
Preheat the air fryer to 400°F (200°C) and arrange the wings in a single layer, as this temperature promotes Maillard browning that gives the wings a satisfying crunch. Avoid overcrowding the basket, since stacked pieces trap steam and reduce crispness.
Cook the wings for about 20 to 25 minutes, turning them halfway through, because the midway flip ensures even exposure to hot air and prevents one side from becoming overly dark.
While the wings are cooking, melt butter with honey, lemon juice, and freshly ground black pepper in a saucepan, then simmer briefly until the mixture thickens slightly before brushing it onto the wings during the final five minutes. This timing lets the glaze caramelize without burning, producing a glossy finish.
After the timer ends, check that the internal temperature has reached the USDA recommended safe level for poultry, as a quick probe will confirm the wings are fully cooked and safe to eat.
For extra shine, toss the hot wings in a thin coating of the warm glaze immediately after they exit the fryer, because the residual heat helps the sauce adhere and creates a lacquered surface.
Serve the air fryer lemon pepper wings right away, as they retain their crunch best when hot.
- Pat the wings dry with paper towels before seasoning to reduce surface moisture.
- Season with a blend of pepper, citrus zest, and a pinch of salt for balanced flavor.
- Spritz a light mist of oil on the basket to prevent sticking without adding excess fat.
- Use a silicone brush to apply the honey lemon pepper wing sauce evenly during the last cooking stage.
- Let the glazed wings rest for two minutes before serving to allow the glaze to set.
Oven‑Baked Technique for Even Cooking
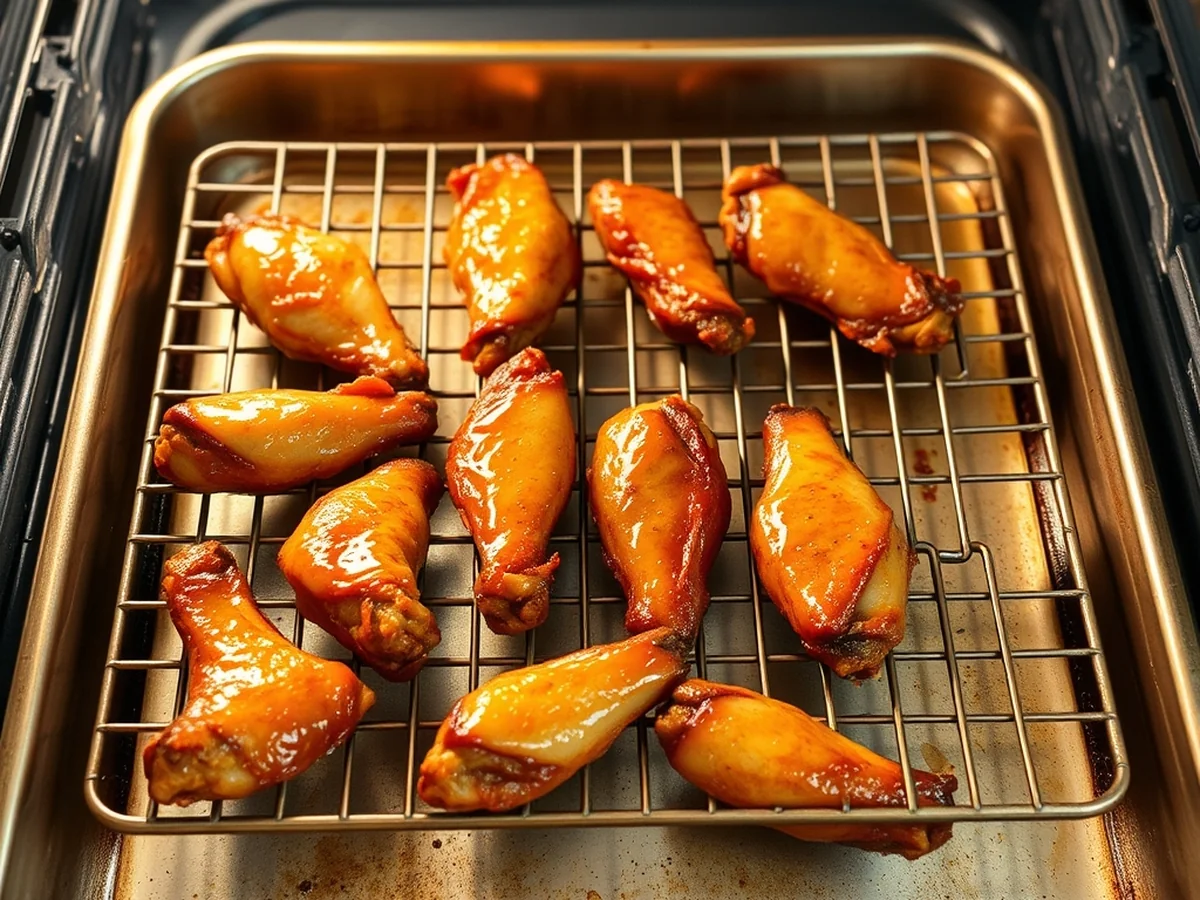
Start by preheating the oven to a moderate temperature, typically around 400°F, which creates enough heat to render the fat without burning the glaze. Position the middle rack so the air circulates evenly around the pan, and place a wire rack on top of a rimmed baking sheet. The wire rack lifts the wings, allowing heat to reach all sides and preventing the bottom from steaming.
Arrange the coated wings in a single layer on the rack, leaving a small gap between each piece. This spacing helps the skin crisp up rather than soggy up. After the first 15 minutes, use tongs to turn each wing over. Flipping at this point ensures both sides receive direct heat and promotes uniform browning.
Continue baking for another 10‑12 minutes, then give the wings a second turn. A three‑turn schedule, initial placement, first flip at 15 minutes, second flip at 25‑27 minutes, keeps the glaze from pooling and the meat from drying out. Check that the internal temperature has reached a safe level, as recommended by USDA guidelines, before moving to the final step.
For extra caramelization, switch the oven to the broiler setting for the last 2‑3 minutes. Move the pan to the top rack, keeping a close eye on the wings; the high heat will quickly brown the honey‑lemon glaze without overcooking the meat. If the glaze darkens too fast, lower the rack one level and broil for a shorter burst.
Once the edges are glossy and the skin feels crisp to the touch, remove the wings from the oven. Let them rest briefly so the juices redistribute, then serve while the glaze is still warm and sticky.
One‑Pan Skillet Version
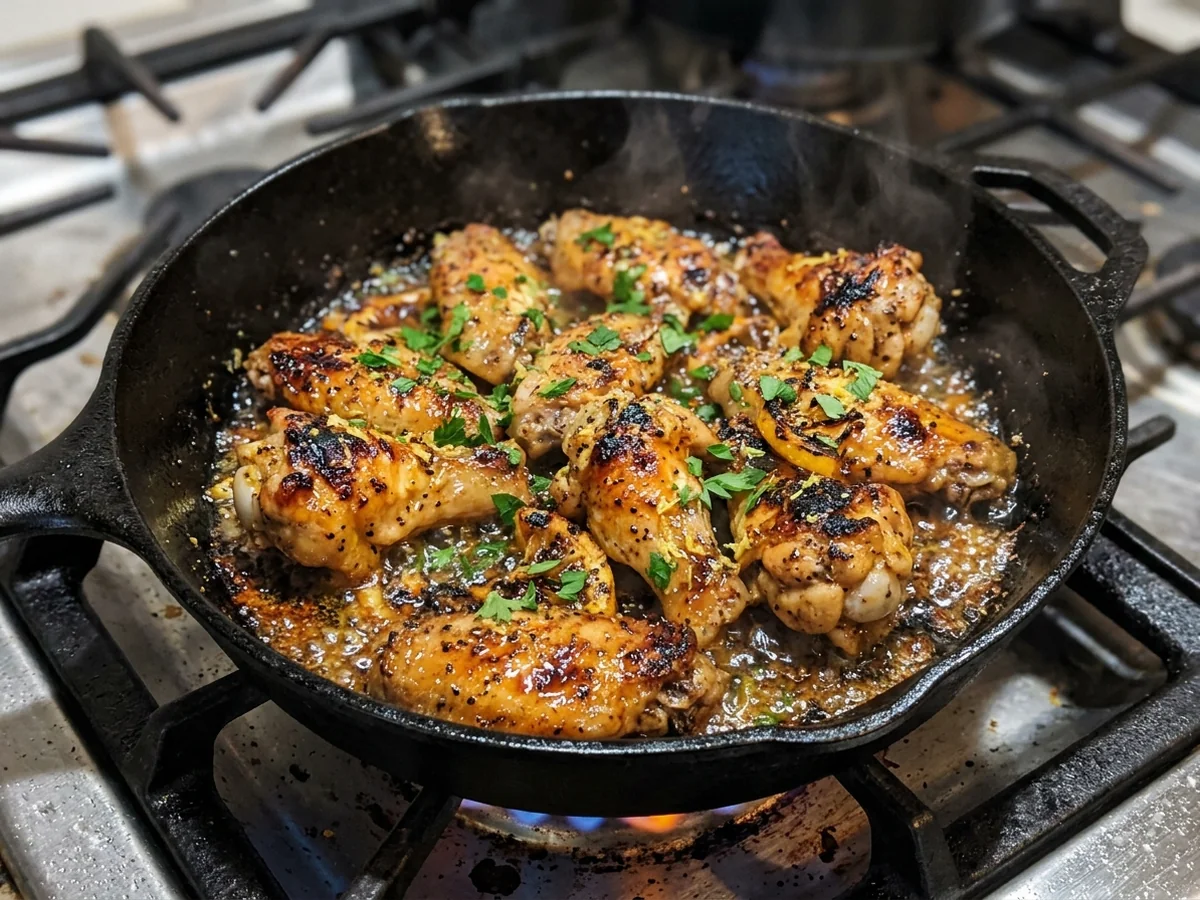
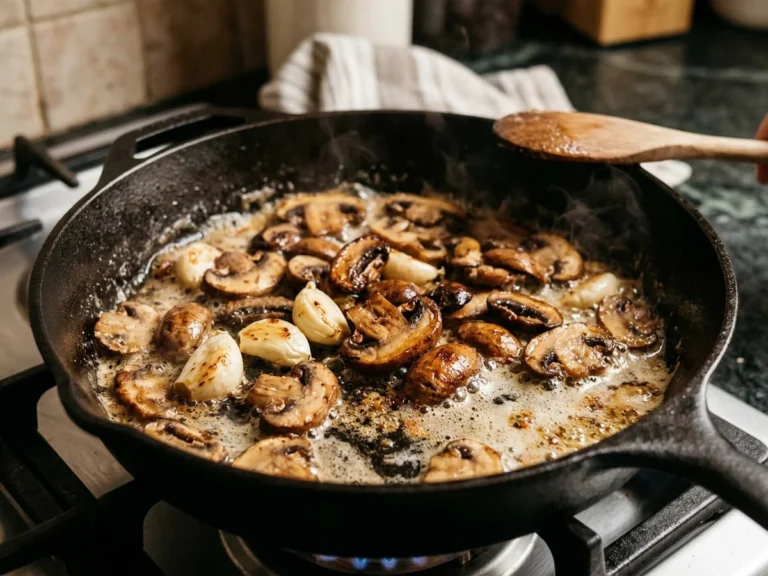
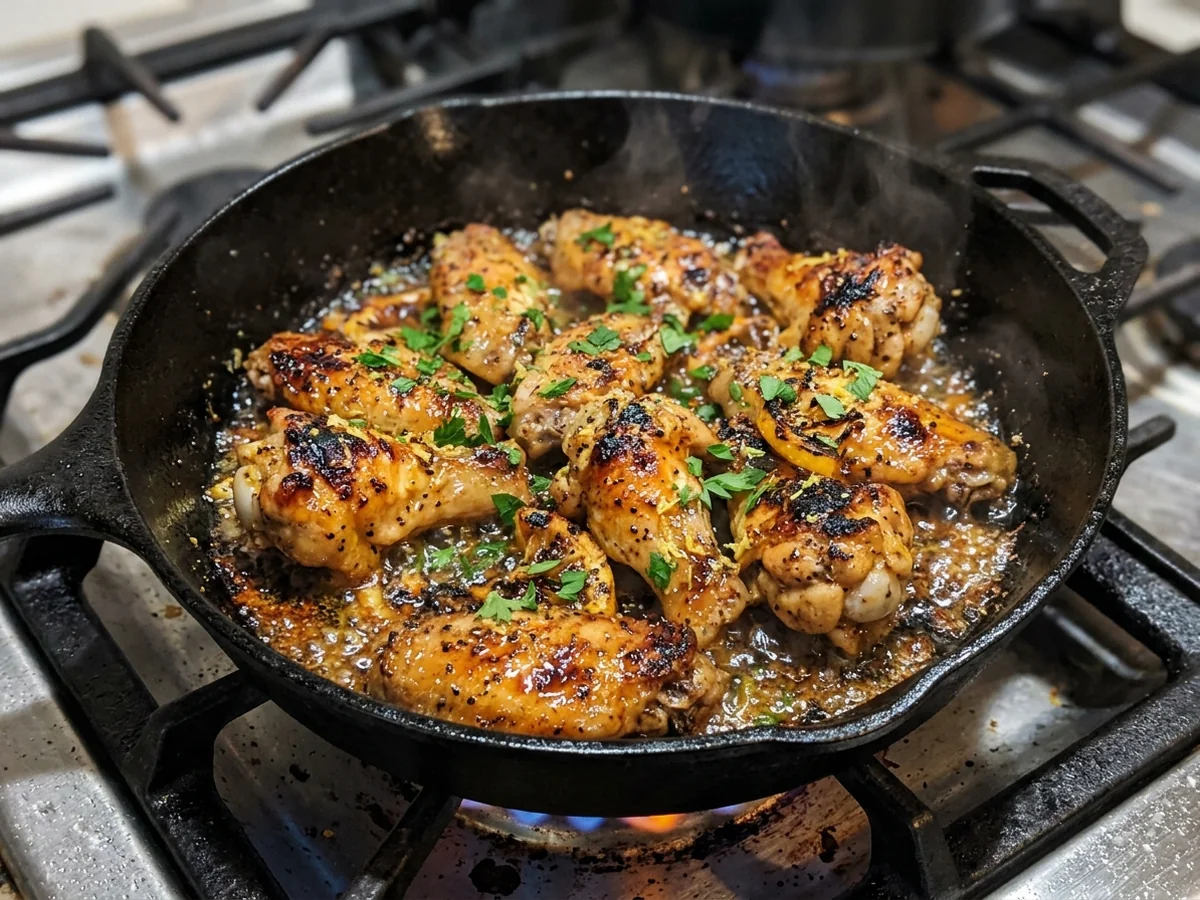
Cooking honey lemon pepper wings in a single skillet lets you develop a crispy skin, a glossy glaze, and a fully cooked interior without juggling multiple pans. The heat‑retaining properties of a well‑seasoned cast‑iron skillet create a mini‑oven effect: steam stays trapped while the sauce reduces, so each bite gets the sweet‑tart flavor that defines the dish.
Why this method works
- Skin‑side sear first , Placing the wings skin‑side down over medium‑high heat renders fat and creates a golden crust that stays crisp when the sauce is added.
- Covered cooking , Covering the skillet after the sauce is introduced keeps moisture in, allowing the meat to reach a safe internal temperature while the honey‑lemon mixture infuses the flesh.
- Finish uncovered , Removing the lid for the last few minutes evaporates excess liquid, thickening the glaze and giving the edges a caramelized bite.
Step‑by‑step guide
- Preheat a cast‑iron skillet on medium‑high. Add a thin layer of high‑smoke‑point oil (such as avocado or grapeseed) and let it shimmer.
- Pat chicken wings dry, then season both sides with salt, pepper, and a sprinkle of simple lemon pepper seasoning. Lay the wings skin‑side down; let them sear without moving for about five minutes, or until the skin releases easily.
- Flip the wings, reduce the heat to medium, and cover the skillet. While the wings cook, melt unsalted butter and stir in honey, freshly squeezed lemon juice, and cracked black pepper to form the honey lemon pepper wing sauce.
- Pour the sauce over the wings, stirring gently to coat each piece. Continue cooking, covered, for eight to ten minutes, checking that the USDA‑recommended internal temperature is reached.
- Uncover the skillet, raise the heat briefly, and toss the wings once more. This step caramelizes the glaze and restores crispness to the skin.
Common mistakes and how to avoid them
- Overcrowding the pan , Too many wings trap steam and prevent browning. Cook in batches if necessary.
- Skipping the dry‑pat , Moisture on the skin hinders crisping; always pat wings dry before seasoning.
- Adding sauce too early , Introducing the honey‑lemon mixture before a solid sear can cause the skin to soggy. Wait until the wings have a firm crust.
- Leaving the lid on too long , Prolonged covering prevents the glaze from thickening, resulting in a watery finish.
When the glaze turns glossy and the skin cracks delightfully, your one‑pan honey lemon pepper wings are ready to serve. Pair them with a simple side salad or roasted veggies for a high‑protein, low‑stress dinner that stays true to the One Pan promise of minimal cleanup and maximum flavor.
Honey Lemon Pepper Wings Safety Tips
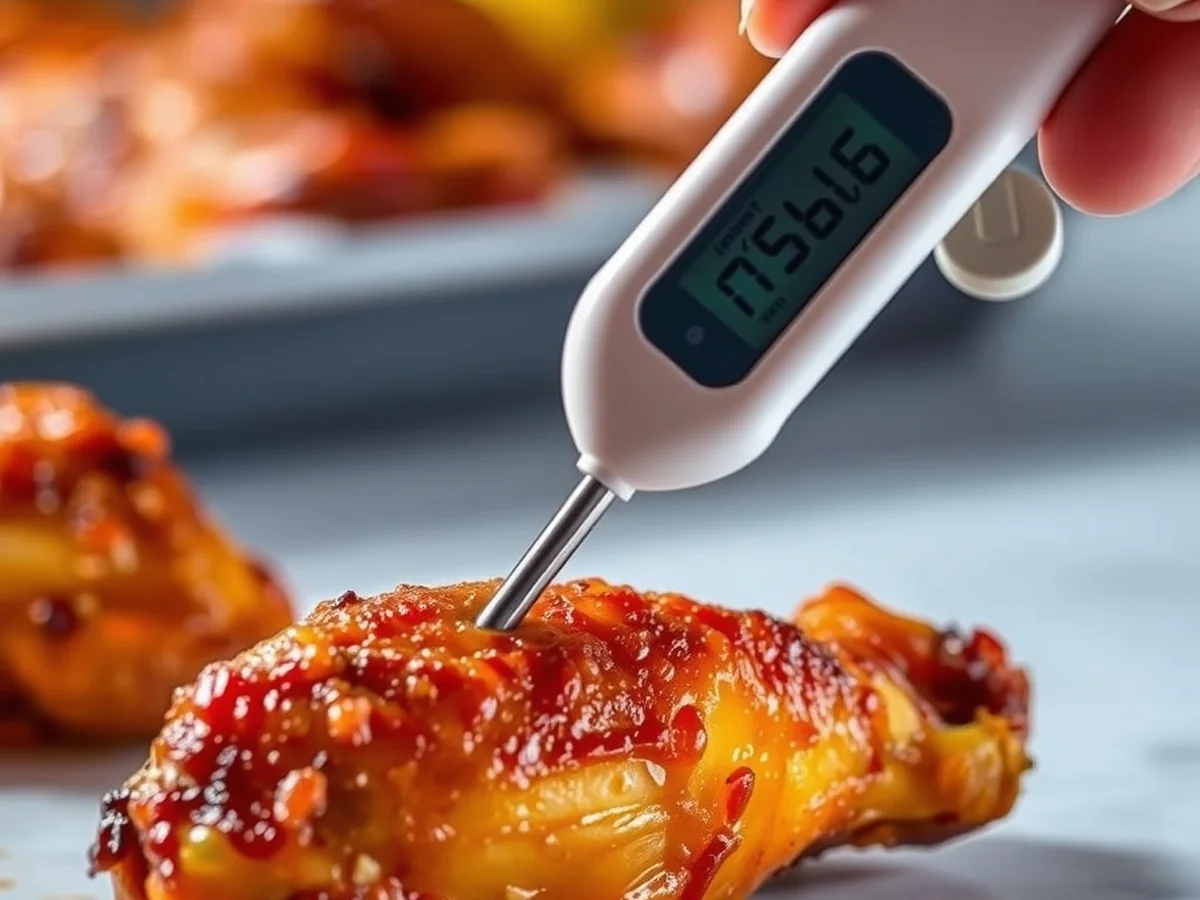
Cooked poultry should reach the temperature that kills harmful bacteria. The USDA recommends an internal temperature of 165 °F (74 °C) for chicken pieces, including wing sections.
Use a calibrated instant‑read thermometer and insert the probe into the thickest part of the meat, avoiding the bone. Check each piece, because heat can vary in a crowded pan or air‑fryer basket.
After cooking, let the wings rest for a few minutes. This allows the heat to distribute evenly, ensuring the safe temperature is maintained throughout the meat.
If you’re not serving them right away, cool the cooked wings quickly. Place them in a shallow container and refrigerate within two hours of cooking. This limits the time bacteria have to multiply.
Store leftovers in airtight containers. Keep the refrigerator at 40 °F (4 °C) or lower, and consume the wings within three to four days for best quality and safety.
When reheating, bring the internal temperature back up to 165 °F (74 °C). Reheat only once; repeated cooling and heating increase the risk of foodborne illness.
- Keep raw chicken separate from ready‑to‑eat foods.
- Wash hands, utensils, and surfaces with hot, soapy water after handling raw meat.
- Never thaw wings at room temperature; use the refrigerator, cold water, or microwave.
Following these handling and storage practices helps you enjoy flavorful wings without compromising safety.
Honey Lemon Pepper Wings Flavor Variations
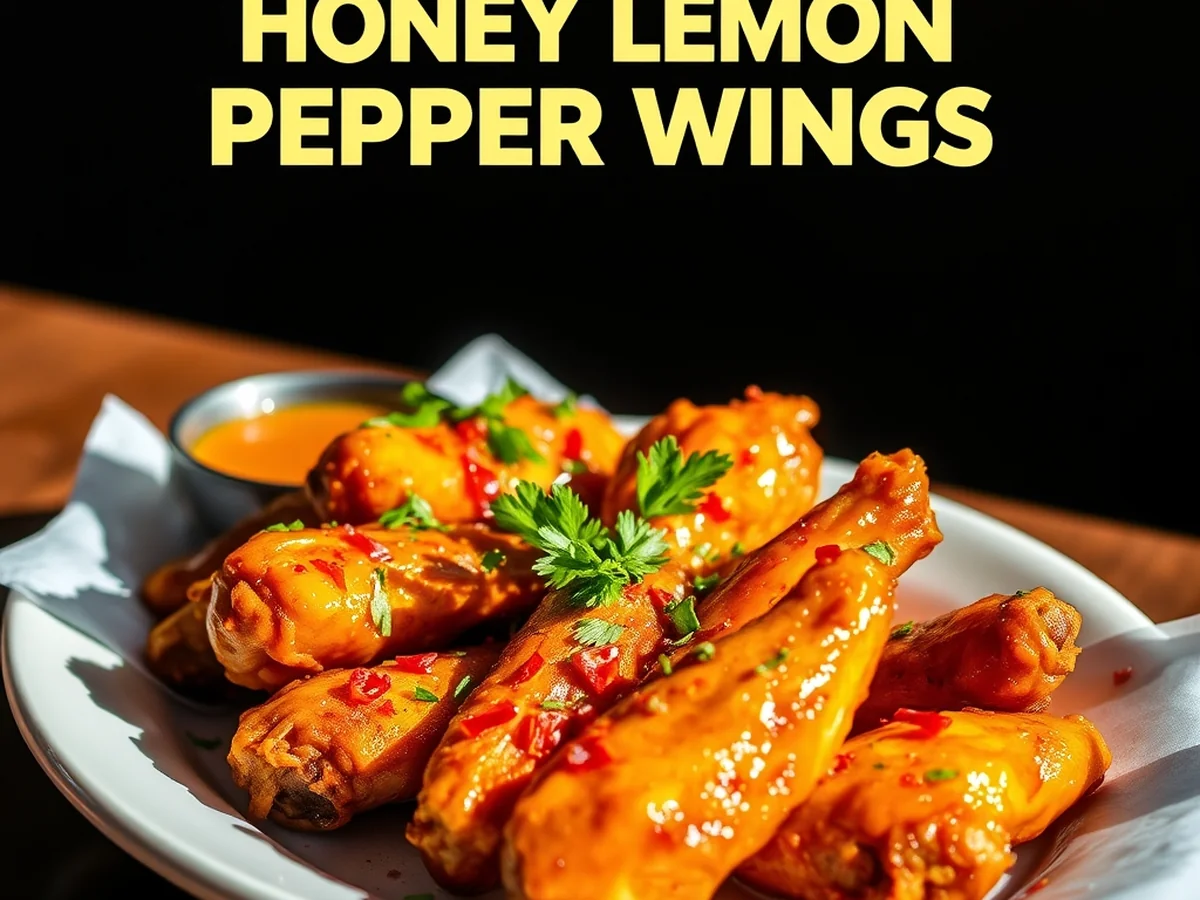
Changing the core honey lemon pepper wings recipe lets you fine‑tune heat, sweetness and citrus brightness. Understanding why each adjustment works helps you avoid common pitfalls and keep the wings crisp, juicy and balanced.
Why Adjust the Spice Profile?
The classic blend of black pepper and lemon provides a clean bite. Adding a pinch of smoked paprika introduces a subtle wood‑smoked depth that complements the citrus without masking it. Garlic powder adds savory richness and can round out the pepper’s edge. Too much extra spice, however, can overwhelm the delicate honey glaze and make the wings taste bitter.
Practical Steps for Spice Tweaks
- Measure a teaspoon of smoked paprika and mix it with the dry seasoning before coating the wings.
- Stir in half a teaspoon of garlic powder with the pepper and paprika for even distribution.
- Taste a small amount of the dry mix before applying; if it feels too strong, reduce each added spice by half.
Why Modify Sweetness?
Honey creates a glossy glaze and balances the lemon’s acidity. Reducing honey or pairing it with a splash of unsalted butter softens the sweetness and adds a silky mouthfeel. Replacing part of the honey with maple syrup can add a mild caramel note, but too much will shift the flavor away from the intended lemon‑pepper focus.
Practical Steps for Sweetness Adjustments
- Use three‑quarters of the original honey amount.
- Add one tablespoon of unsalted butter to the melted honey; whisk until smooth.
- If you prefer a hint of maple, swap one tablespoon of honey for an equal amount of pure maple syrup.
Why Boost Citrus?
Lemon juice and zest provide brightness and cut through the richness of the glaze. Adding extra zest intensifies aroma, while a final splash of fresh lemon juice right before serving preserves the fresh citrus scent that can diminish during cooking.
Practical Steps for Citrus Enhancements
- Grate the zest of an additional lemon into the sauce after it has been removed from heat.
- Just before serving, drizzle a teaspoon of freshly squeezed lemon juice over the wings.
- For a milder citrus note, incorporate the zest but limit the extra juice to avoid sogginess.
Common Mistakes and How to Avoid Them
Over‑spicing the dry rub can make the wings taste harsh; always start with small amounts and adjust after tasting. Adding too much honey or syrup may cause the glaze to caramelize excessively, leading to a burnt coating. Finally, introducing lemon juice too early can soften the skin, reducing crispness, apply the juice at the end of cooking or as a finishing drizzle.
Experiment with these variations while keeping the core principles of balance, crispness and proper internal temperature in mind. For more high‑protein recipes that fit a one‑pan lifestyle, explore the One Pan blog.
Honey Lemon Pepper Wings Serving Ideas
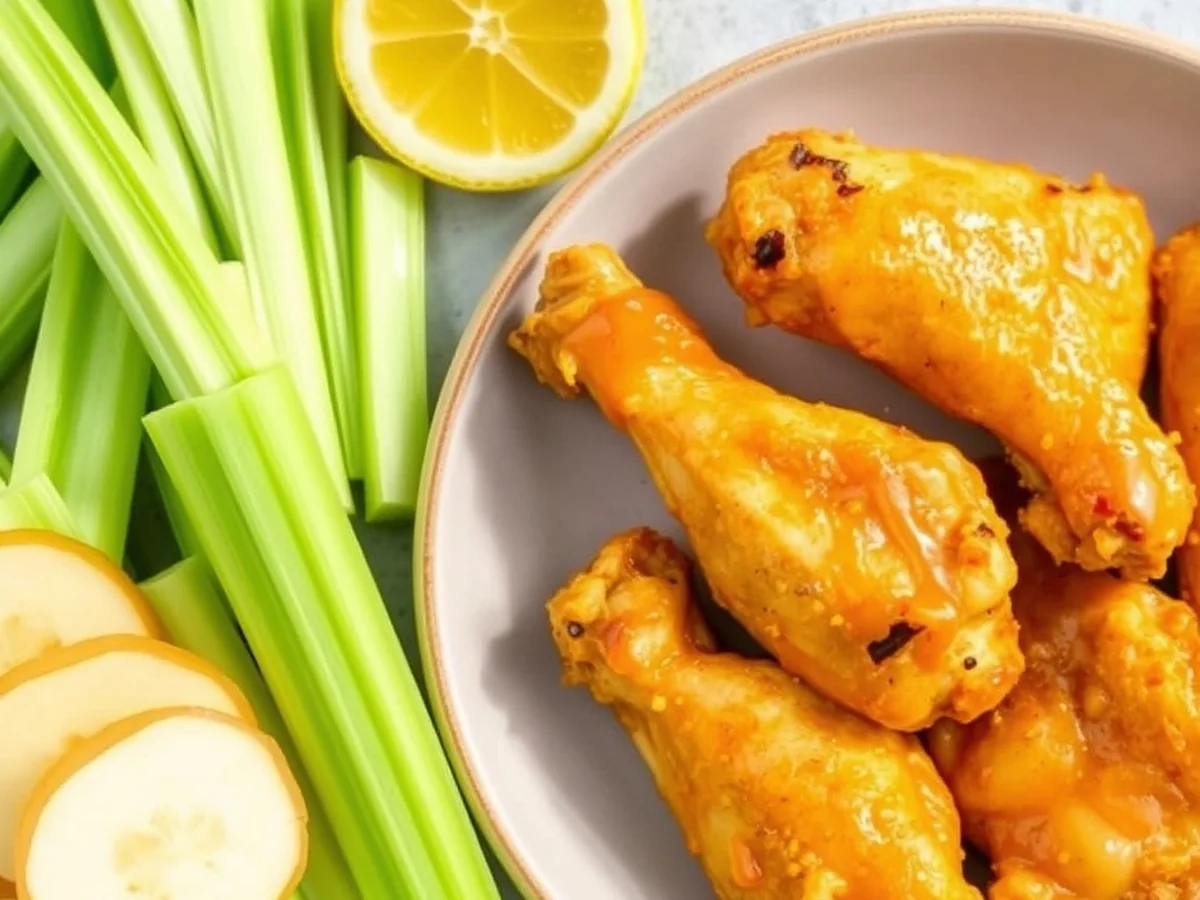
When you plate honey lemon pepper wings, think about contrast, balance, and convenience. The sweet‑tart glaze is rich, so a crisp, neutral side keeps the bite light. Fresh celery sticks or sliced jicama work well because their natural crunch cuts through the glaze and adds a subtle peppery note. Arrange the sticks in a small pile beside the wings so guests can reach for a bite without crowding the plate.
For a creamy counterpoint, offer a modest amount of ranch or blue‑cheese dip in a separate ramekin. A thin coating of dip lets the wing’s flavor shine while providing a cool texture for those who prefer it. If you want to keep the protein focus, serve the dip in a silicone squeeze bottle, which lets diners add just a dab to each piece.
Adding a bright salad reinforces the lemon element. Toss mixed greens with a simple vinaigrette made from lemon juice, a dash of olive oil, and a pinch of black pepper. The dressing mirrors the citrus profile and supplies a refreshing palate cleanser between bites. Sprinkle a few toasted pumpkin seeds on the salad for extra crunch without competing with the wing’s texture.
When choosing a beverage, prioritize drinks that cleanse rather than compete with the glaze’s sweetness. Sparkling water with a lemon wedge offers a clean finish, while a light lager provides gentle carbonation and a mild malt backbone that lets the honey and pepper remain front‑and‑center.
Practical serving steps
- Prepare the wings using your preferred method, air fryer, oven, or skillet, until the internal temperature reaches the USDA‑recommended safe level.
- While the wings rest, arrange the vegetable sticks and salad on a large platter.
- Place the dip bowl or squeeze bottle at one edge of the platter for easy access.
- Drizzle a few extra drops of lemon juice over the salad just before serving to keep the citrus bright.
- Offer the chosen beverages in glassware that showcases the bubbles or foam, encouraging guests to sip between wing bites.
Common mistakes to avoid
- Overloading the plate with too many sides, as this can dilute the wing’s flavor impact.
- Using a dip that is too heavy or overly herbed, which masks the glaze.
- Serving the wings hot and the sides cold without a short rest period, since a brief 5‑minute rest lets the glaze set and prevents soggy vegetables.
- Neglecting the temperature check, because cooking the wings below the USDA safe temperature can pose a food‑safety risk.
By pairing the wings with crisp vegetables, a light citrus salad, a modest dip, and a refreshing drink, you create a balanced plate that highlights the sweet and tangy glaze while keeping the overall meal satisfying and easy to enjoy.
Honey Lemon Pepper Wings Nutrition Facts
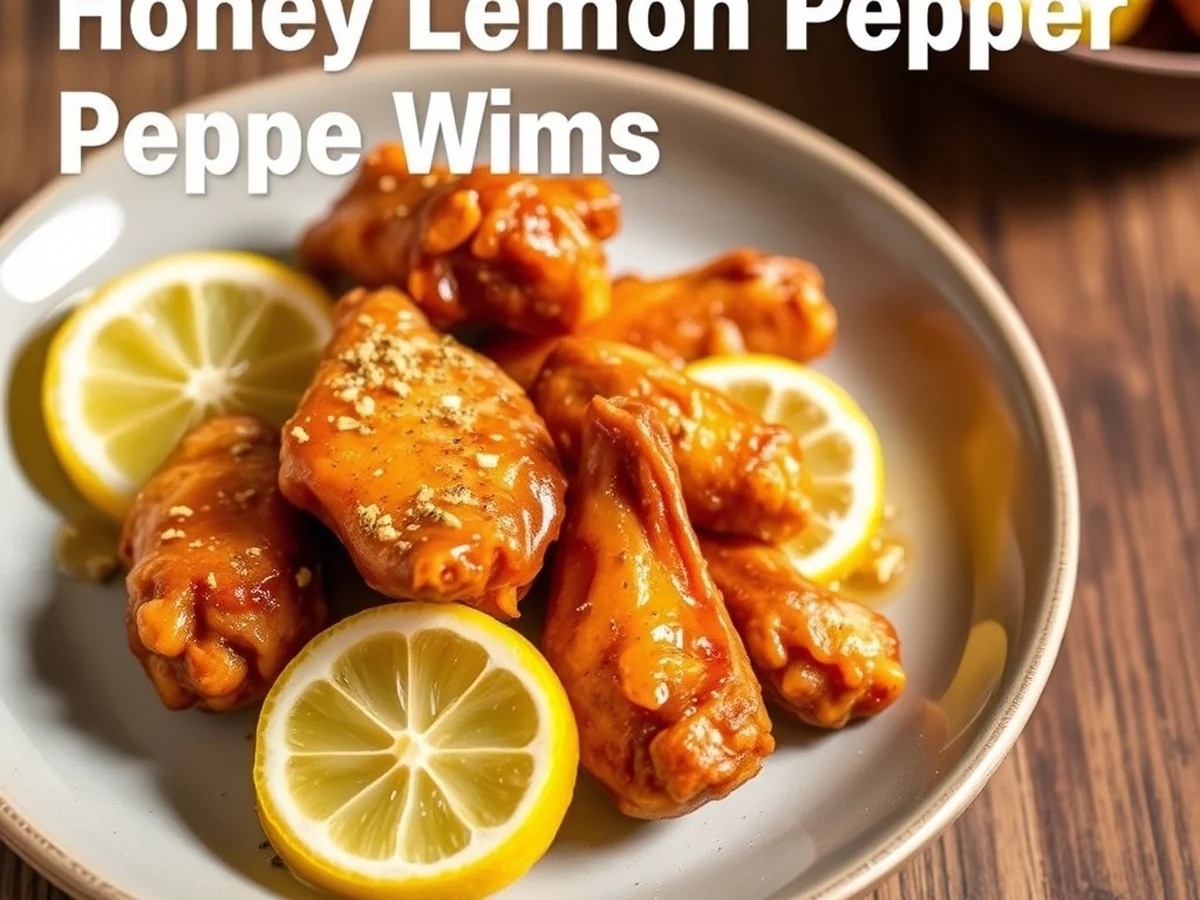
This savory poultry dish is a protein‑rich option that fits the One Pan philosophy of high‑protein, low‑stress meals. The chicken wing provides a solid source of lean muscle‑building protein, while the glaze adds natural sweetness from honey and bright acidity from lemon juice without overwhelming the dish with carbs. Fat comes primarily from the skin and a modest amount of butter used in the sauce, keeping the overall fat level moderate and the flavor profile satisfying.
| Nutrient | Typical Amount per Serving |
|---|---|
| Protein | High, contributes to muscle repair and satiety |
| Carbohydrates | Low, mostly from honey and a touch of lemon juice |
| Fat | Moderate, skin and butter provide flavor without excess heaviness |
| Vitamin C | Present, lemon juice adds a boost of antioxidant |
| Iron | Available, chicken offers a modest amount of heme iron |
Why the nutrition matters
Home cooks who track macros appreciate that each serving delivers a balanced mix of macronutrients. The high protein helps maintain energy levels after a workout, while the low carbohydrate count keeps blood sugar steadier compared with breaded or sugary variants. The modest fat content supports flavor and satiety without adding unnecessary calories, aligning with the zero dinner stress goal of a quick, nutritious meal.
Practical steps to keep the profile on target
- Pat the poultry dry before seasoning, as excess moisture can dilute the glaze and increase perceived carbs.
- Measure honey by volume rather than weight to avoid adding more sugar than intended.
- Use freshly squeezed lemon juice for maximum vitamin C and to limit added preservatives.
- Apply a thin coat of unsalted butter in the sauce, which delivers flavor while controlling saturated fat.
- Cook to an internal temperature of 165°F (74°C) as recommended by the USDA and FDA, ensuring safety without overcooking, which can dry out the protein.
Common mistakes and how to avoid them
- Over-saucing: Drowning the poultry in honey can spike the carbohydrate content and make the coating soggy. Toss the pieces just until evenly coated.
- Skipping the skin: Removing the skin reduces the natural fat that helps the glaze adhere and can lower the overall flavor.
- Cooking at too high a heat: Extremely high temperatures may char the glaze before the interior reaches the safe internal temperature, resulting in burnt sugar and uneven protein cooking.
- Using pre-made seasoning mixes: Store-bought pepper blends often contain added salts and anti-caking agents that can increase sodium without adding nutritional benefit. A homemade blend lets you control the spice level and keep the sodium moderate.
By paying attention to these details, this glazed poultry recipe stays true to One Pan’s high‑protein, low‑stress promise while delivering a tasty, nutrient‑balanced dish for busy home cooks.
Frequently Asked Questions
How do I know when these sweet and savory pieces are fully cooked?
You can ensure your chicken is safe to eat by checking the internal temperature with a food thermometer. According to safety guidelines from the USDA, poultry must reach a minimum internal temperature to eliminate harmful bacteria.
Can I make these flavorful poultry pieces in an air fryer?
Cooking your meal in an air fryer is a great way to achieve a crispy texture without deep frying. Simply preheat the appliance, arrange the poultry in a single layer, and cook until the skin is golden brown and the meat is done.
How should I store leftover savory handhelds?
Store any remaining portions in an airtight container in the refrigerator within two hours of cooking. The FDA recommends consuming refrigerated leftovers within a proper timeframe to maintain food safety and quality.
What is the best way to reheat crispy chicken pieces?
Reheating them in an oven or air fryer helps restore the crunchy exterior better than a microwave. Heat the pieces until they are warmed through completely before tossing them in fresh sauce.
How do I prevent the glaze from burning?
Sugary sauces tend to char quickly under high heat because of the caramelization process. Apply the sweet glaze toward the very end of the cooking time or toss these savory handhelds right after they finish cooking.
Conclusion and Quick Recap
Making great food at home does not require complicated equipment or hours of cleanup because simple cooking methods keep dinner stress free. You can easily adapt the process to fit your preferred kitchen appliance, whether you choose an oven or a countertop cooker. Grab your ingredients today and treat yourself to a batch of sweet and savory poultry appetizers for your next casual dinner or game day gathering.
You might also like: Sichuan-Style Crispy Chili Beef Stir-Fry