Garlic Butter Seared Scallops Recipe
Introduction to Garlic Butter Seared Scallops
Making restaurant quality seafood at home is simple when you focus on technique and use a single pan. Preparing garlic butter seared scallops relies on precise heat management and careful timing to achieve a golden crust while keeping the interior tender.
This guide walks you through the entire process from selecting the right seafood to final plating. You will learn how to prepare the pan, manage cooking temperatures, and finish the dish with rich garlic butter.
Sea Scallops Vs Bay Scallops
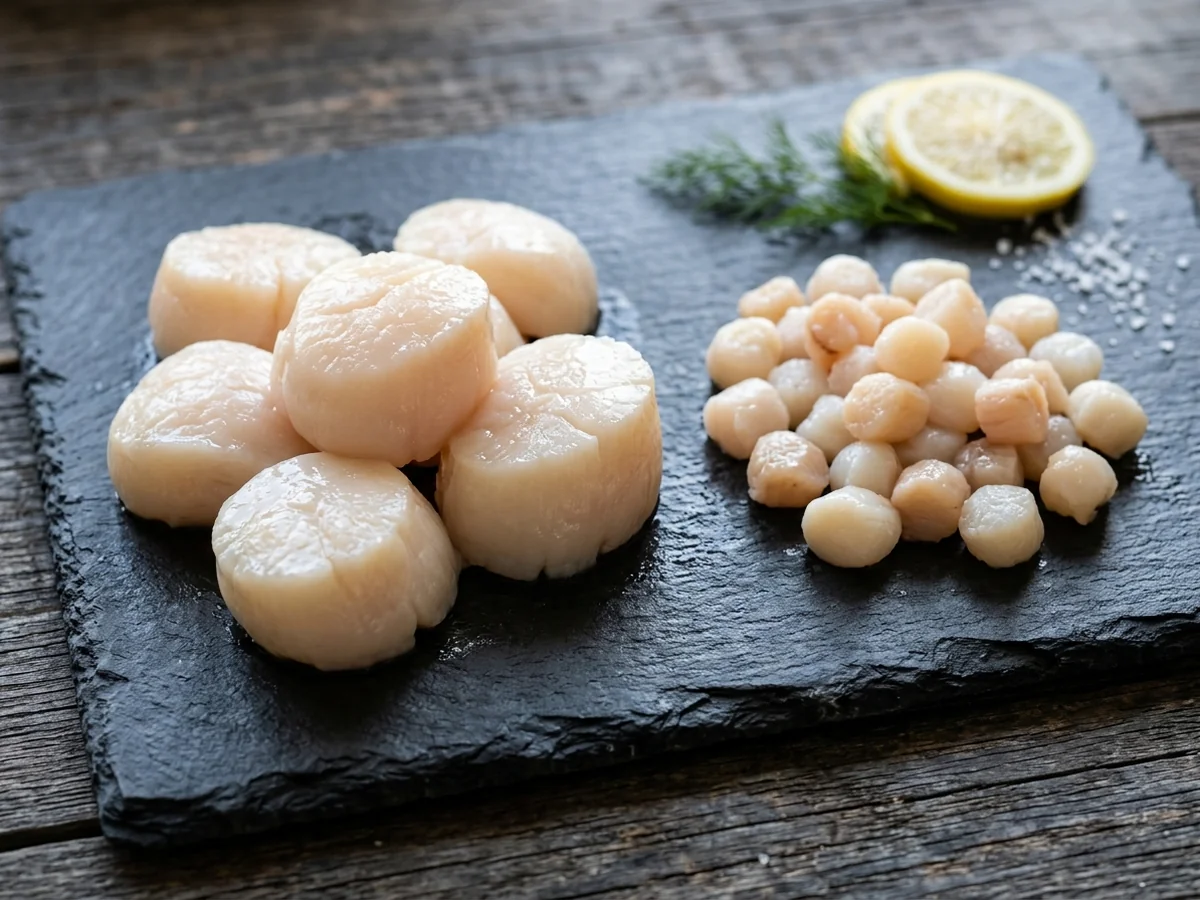
Large sea scallops offer a thick, meaty texture that makes them ideal for a pan seared sea scallops recipe, while small bay scallops feature a delicate, bite-sized profile suited for pasta dishes or quick sautées. Choosing the right variety ensures you achieve the desired contrast between a crisp exterior and a tender interior.
Sea scallops grow much larger than bay scallops, which changes how heat interacts with the seafood during cooking. Because sea scallops are thick and dense, they tolerate high heat long enough to develop a deep brown crust without overcooking the center. Small bay scallops cook through almost instantly, leaving very little margin for error when attempting to build a crust in a hot pan.
Physical and Structural Differences
The stark difference in size dictates how you approach food preparation in the kitchen. Sea scallops require careful attention to pan space and timing so each piece can brown properly without overcrowding the cooking surface. Bay scallops cook so fast that treating them individually is impractical, meaning they are usually tossed in a hot skillet all at once for a brief flash-cook rather than a dedicated sear.
Understanding these biological variations helps you avoid common cooking mistakes. For instance, treating bay scallops with the same high heat and duration intended for sea scallops will result in rubbery, overcooked seafood. When preparing a quick meal, matching your cooking technique to the specific size of the shellfish guarantees better flavor retention and texture.
Flavor Pairing and Culinary Uses
Sea scallops stand out as the ideal choice for a distinct garlic butter preparation because their substantial size anchors the dish. The broad surface area allows the rich sauce to coat the exterior effectively without overwhelming the delicate seafood. Smaller bay scallops tend to disappear into heavy sauces, making the larger variety the reliable option for a protein-focused main course.
When selecting your seafood at the market, look for indicators of quality. Fresh options should display a mild, sweet oceanic scent alongside firm, slightly translucent flesh. Whether you choose large sea varieties for a main course or small bay varieties for pasta, maintaining precise heat management in a heavy skillet like a cast iron skillet ensures successful results every time.
How to Select Fresh Scallops and Identify Wet Versus Dry Options
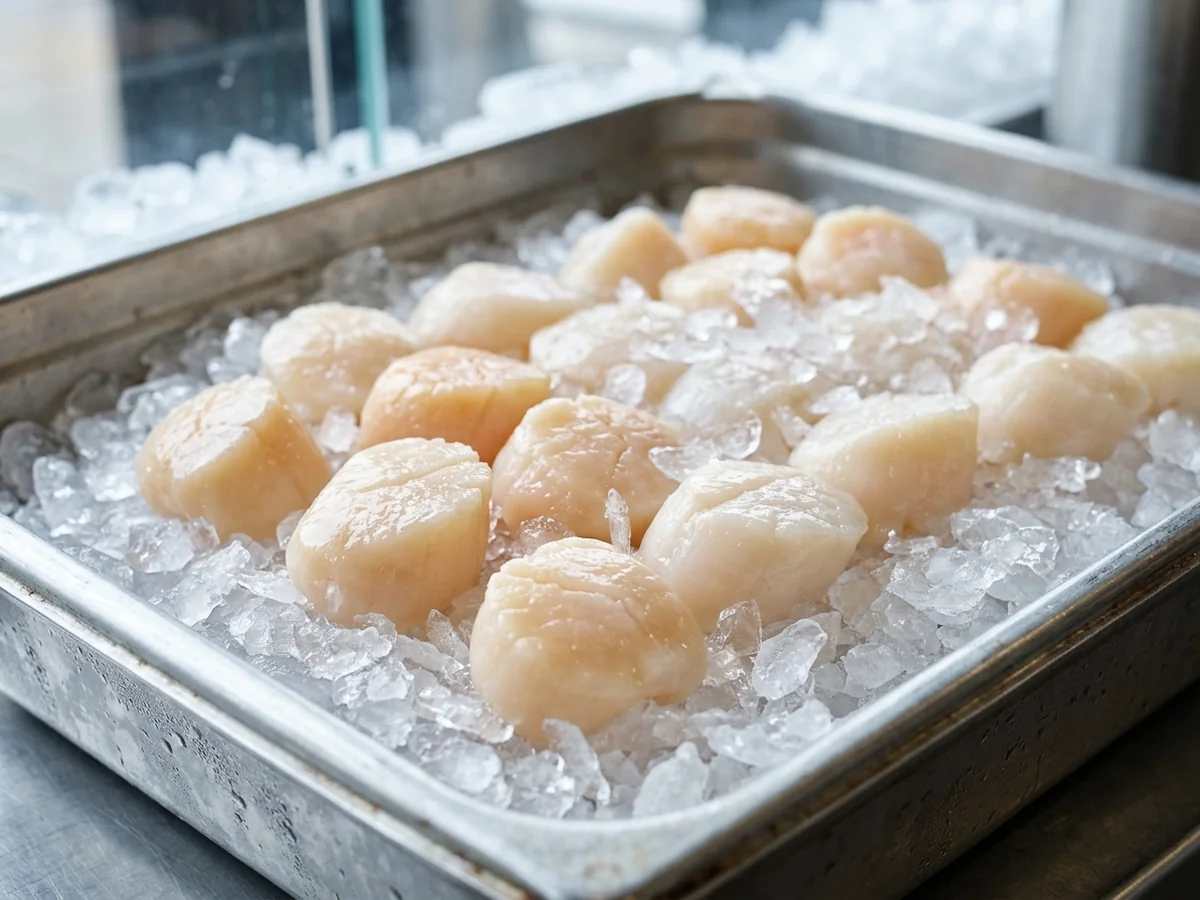
Choosing high quality seafood for your garlic butter seared scallops starts with examining the physical characteristics and processing methods of the flesh before you begin cooking. Fresh options display a mild, sweet oceanic scent and firm, slightly translucent flesh that indicates proper handling and quality. When evaluating raw seafood at the market, look closely at how the pieces are stored and whether they sit in a pool of milky liquid.
Understanding the distinction between untreated sea scallops and options treated with moisture retention agents is vital for achieving a proper culinary result when preparing pan seared sea scallops recipe dishes. Suppliers often soak certain batches in sodium tripolyphosphate to increase their water weight and extend shelf life, while untreated varieties remain entirely natural.
- Untreated sea scallops contain natural moisture levels that allow the exterior to brown rapidly when exposed to proper heat in a hot cast iron skillet.
- Treated seafood absorbs moisture retention agents during processing, which causes the flesh to release excess water into the pan during cooking.
- Excess surface and internal liquid prevents the temperature from rising high enough to create the desired golden crust.
- Wet options often shrink significantly in size as the retained water cooks out in the skillet, leaving you with a smaller portion than anticipated.
- Purchasing dry-packed varieties ensures you can properly execute the browning process without interference from added phosphates or preservatives.
Moisture retention properties dictate how effectively the surface proteins interact with the hot cooking surface. When excess water escapes from treated seafood, it creates steam around the edges rather than allowing direct contact with the skillet, which ruins the texture. Eliminating surface liquid through careful drying is therefore necessary before cooking, but starting with untreated seafood gives you the best foundation for a crisp exterior.
Another practical step before cooking involves inspecting each piece for the small, tough side muscle, often called the abductor muscle. This small, rectangular flap of tissue feels noticeably firmer and chewier than the rest of the round muscle. Simply pinch the side muscle between your fingers and pull it away gently before cooking to ensure an even, tender texture across every bite. Taking this extra minute during preparation prevents tough spots and elevates the final dining experience.
A common mistake home cooks make is skipping the sensory check at the fish counter. If the seafood emits a strong, fishy, or ammonia-like odor, it is past its prime and should be avoided entirely. Fresh seafood should smell clean and sweet like the ocean. Paying attention to these foundational details ensures that your meal turns out tender, flavorful, and properly browned every single time.
Preparing Scallops: The Role of the Abductor Muscle and Drying
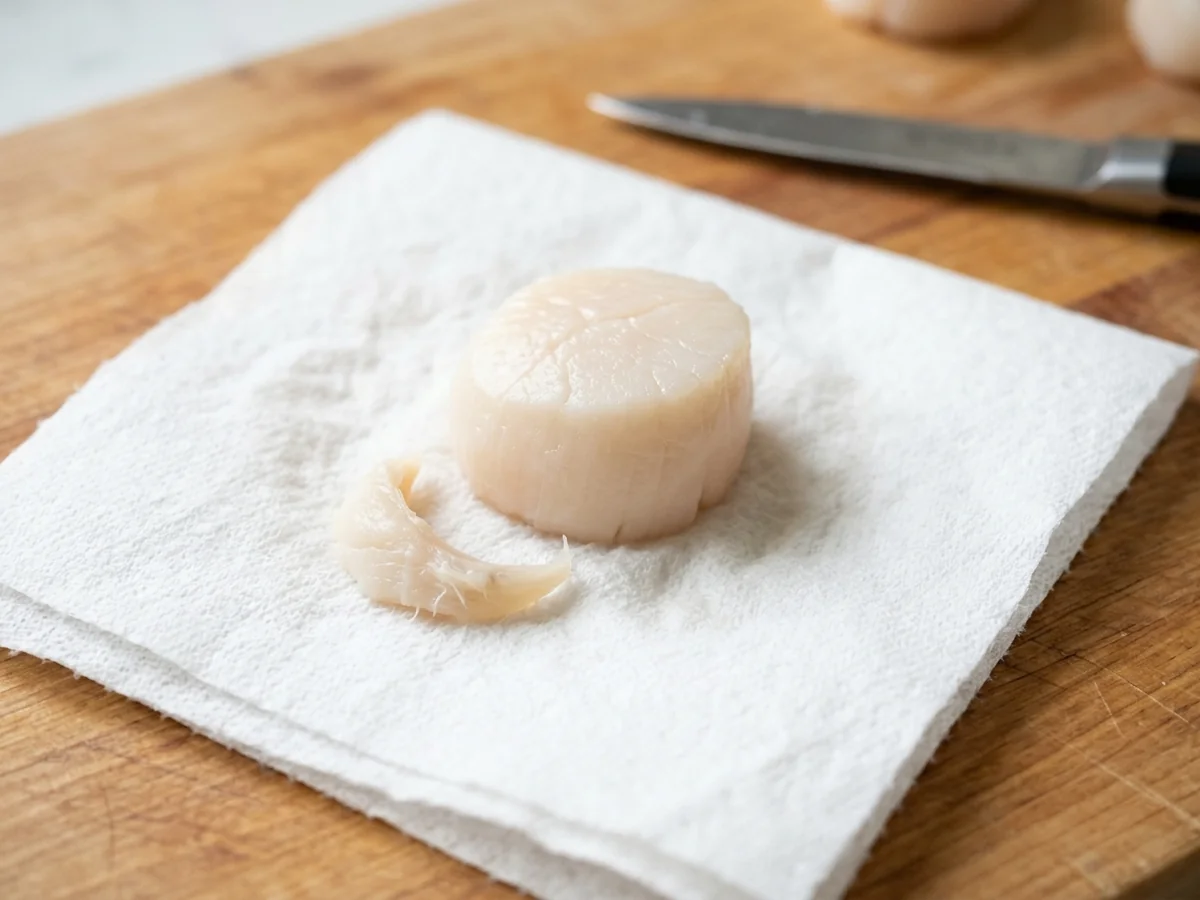
Getting a restaurant quality crust on your garlic butter seared scallops depends heavily on proper preparation before the seafood ever touches the pan. Taking a few extra moments to inspect each piece and remove surface moisture sets the foundation for a successful meal.
Before you begin cooking pan seared sea scallops recipe dishes, check each piece of seafood for the small rectangular side muscle, known as the abductor muscle. This tiny strip feels noticeably tougher than the rest of the flesh. Pulling this muscle away with your fingers or a paring knife takes only a few seconds. Leaving it attached can result in an unpleasantly chewy texture because that specific part tightens up quickly during high heat cooking.
Surface moisture represents the biggest obstacle to achieving a golden brown crust. When wet seafood hits a hot cast iron skillet, the excess liquid immediately turns into steam. This creates a barrier that prevents the protein from making direct contact with the hot metal surface. Instead of searing, the seafood essentially boils in its own juices, resulting in a pale and rubbery final product.
Removing surface water allows the Maillard reaction to take place properly. To eliminate excess liquid effectively, place the seafood in a single layer on a plate lined with clean paper towels. Press down gently with another paper towel to absorb as much moisture as possible from both the top and bottom surfaces. Ensuring the exterior is completely dry guarantees that the high heat can create that desirable caramelized crust.
Another common mistake home cooks make involves adding salt too early in the prep process. Salt draws moisture out of delicate seafood through osmosis. If you season the pieces too far in advance, fresh liquid will pool on the surface and undo all your hard work with the paper towels. Always apply salt immediately before the seafood goes into the hot pan to keep the exterior as dry as possible.
Mastering Heat Management and Selecting the Best Cooking Fat
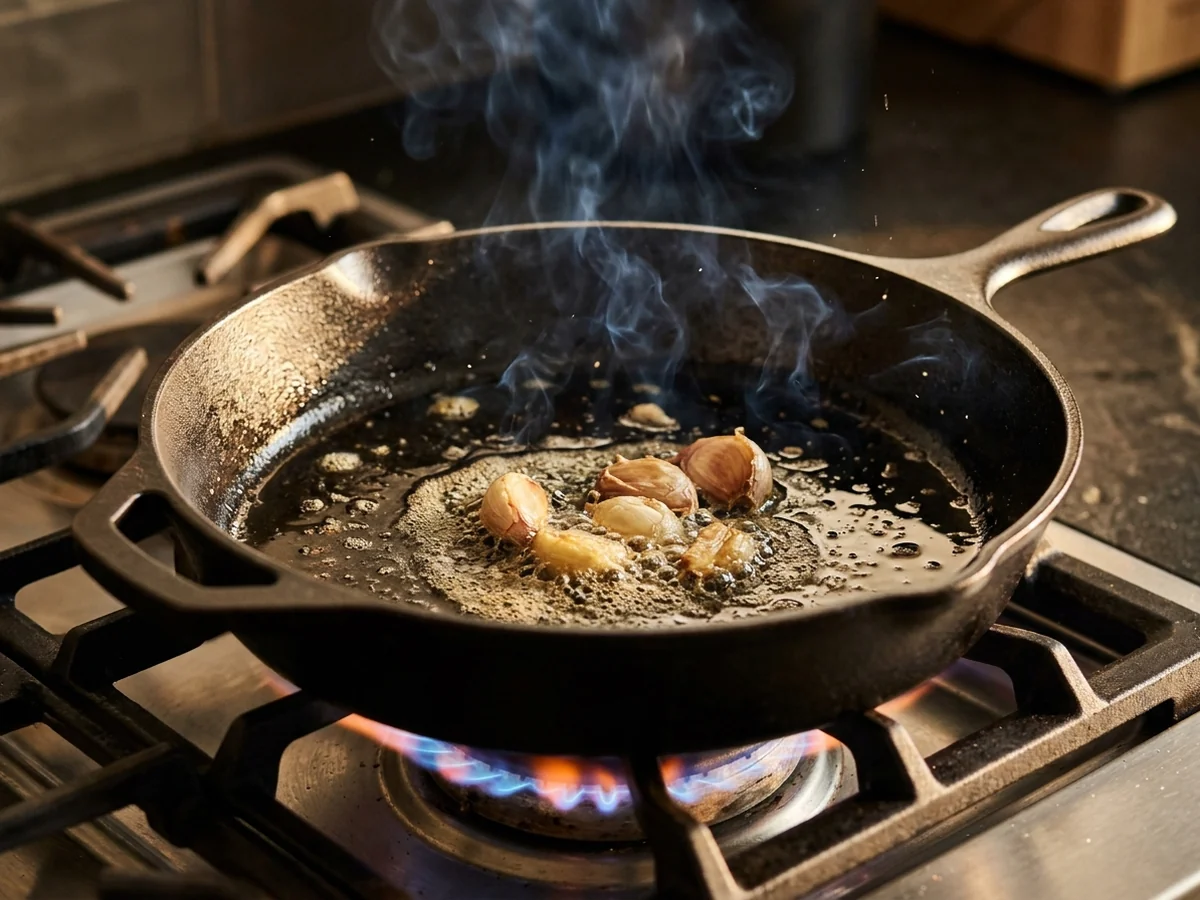
Managing heat properly and selecting the correct cooking fat require understanding thermal retention, smoke points, and how milk solids react to high temperatures. Achieving a crisp crust on sea scallops demands steady heat distribution and oils capable of handling intense thermal energy without scorching. Selecting the best oil for searing scallops protects the delicate flavor of the seafood while establishing the foundation for a proper crust.
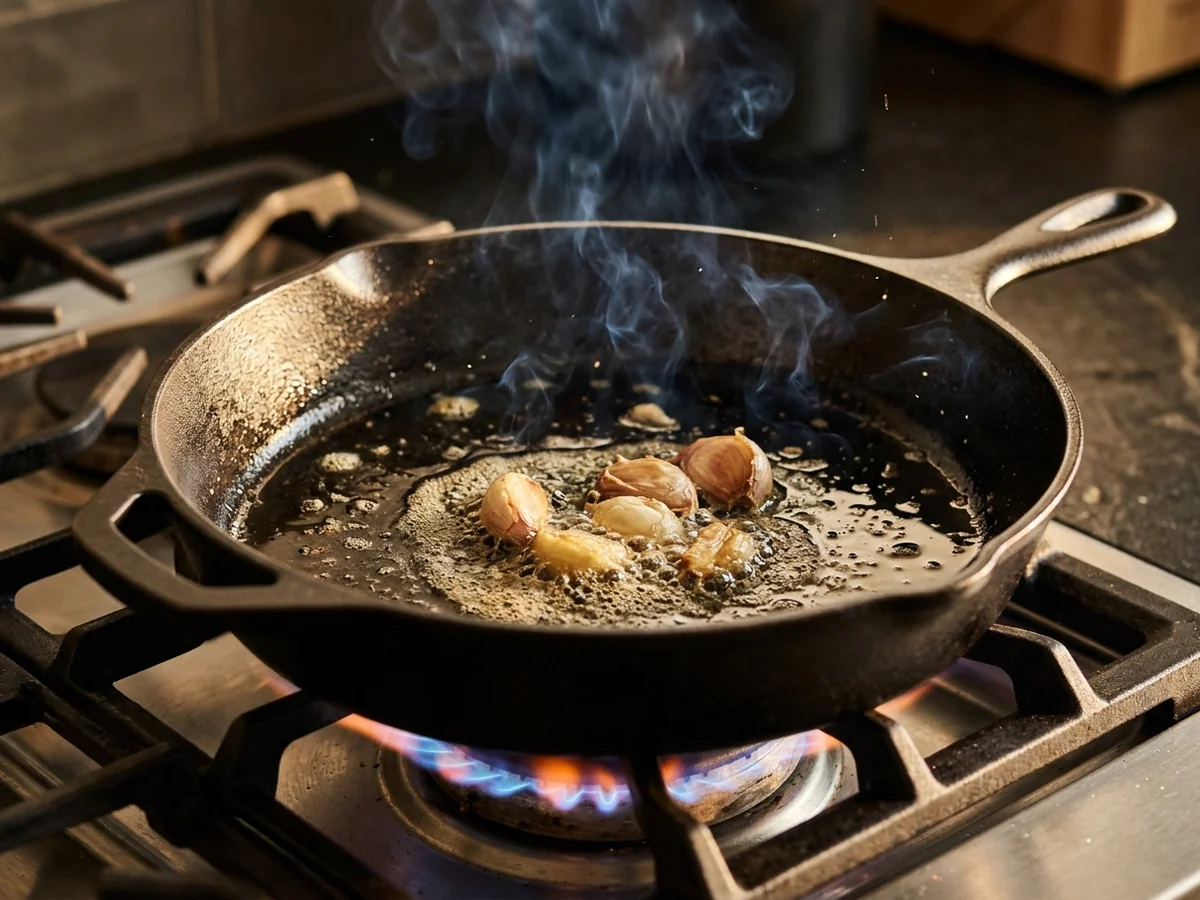
Cast iron skillets provide optimal heat retention because they absorb and hold thermal energy efficiently, ensuring the cooking surface stays hot when cold ingredients hit the pan. This steady heat transfer supports clean crust formation while cooking sea scallops quickly. If a pan loses temperature too fast, the seafood releases moisture and stews instead of browning. Overcrowding the pan causes the temperature to drop and leads to steaming instead of searing, so leaving enough space between each piece is essential for success.
Fats behave differently under high heat due to their individual smoke points. Oils like grapeseed oil handle intense heat without burning, whereas unclarified butter contains milk solids that scorch rapidly under the same conditions. Choosing a high smoke point oil prevents bitter flavors caused by burnt dairy fats during the initial high heat phase.
| Cooking Fat | Thermal Tolerance | Searing Suitability |
|---|---|---|
| Grapeseed Oil | High | Excellent for initial high heat |
| Avocado Oil | Very High | Excellent for initial high heat |
| Whole Butter | Low | Prone to burning at high heat |
Butter burns during the initial searing phase because its milk solids scorch quickly when exposed to high heat levels. To avoid this issue, home cooks often sear the seafood in a high smoke point oil first and introduce butter near the end of the cooking process for flavor. Basting with garlic butter at the end of the cooking process adds rich flavor without burning the milk solids in the butter, ensuring a balanced taste profile for your dish.
Practical execution requires patience and attention to timing. Scallops cook rapidly and generally require only 2 to 3 minutes per side for medium-rare to medium doneness, depending on their size. Attempting to flip them too early tears the delicate crust. Allowing the exterior to brown naturally releases the seafood from the pan surface effortlessly, resulting in a professional finish every time.
Timing and Technique for Seared Scallops and Garlic Butter Basting
Mastering the timing for garlic butter seared scallops requires a quick sear of two to three minutes on the first side, followed by just one to two minutes on the reverse. This brief cooking window prevents overcooking while developing a golden crust.
The total garlic butter scallops cooking time stays under five minutes from start to finish. Keeping a close eye on the clock ensures the seafood remains tender in the center without turning rubbery.
Giving each piece enough space in the skillet is crucial for success. Crowding the pan causes the temperature to drop and traps moisture, which leads to unwanted steaming instead of a proper crust.
Cook small batches at a time if the pan is not large enough to hold everything comfortably in a single layer. Maintaining steady, high heat is the only way to achieve restaurant quality results when learning how to cook scallops in butter.
One common mistake home cooks make is adding garlic and butter too early in the process. Because milk solids scorch quickly under high heat, this final basting step happens off the heat source or right as the pan finishes. Adding aromatics at the very end infuses rich flavor without burning.
Spoon the warm melted mixture continuously over the top of the seafood as it rests in the skillet. This technique coats every bite in savory goodness while protecting the delicate texture of the protein.
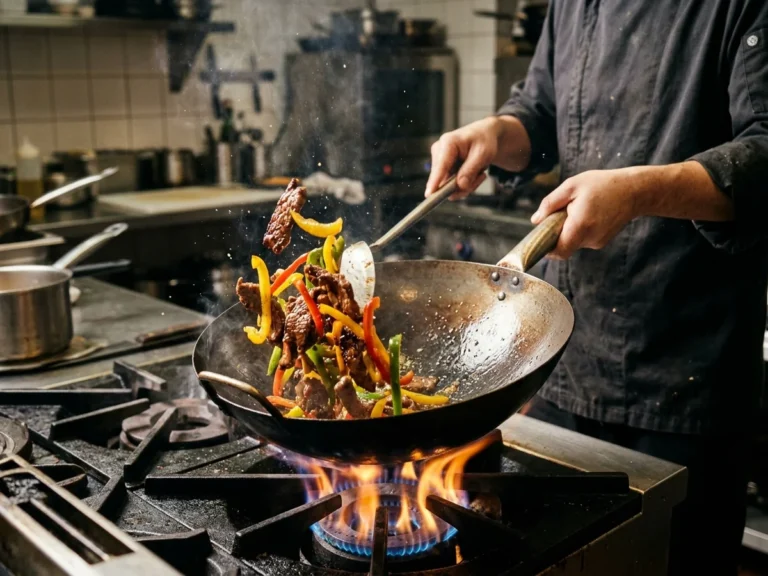
To execute this properly, start by heating your skillet thoroughly with a suitable cooking fat. Once the surface is hot, place the pieces down individually, leaving physical gaps between every single piece. Resist the urge to move them around while they cook, because moving them prematurely disrupts the browning process. Flip them only when they release easily from the pan surface, then introduce the butter and garlic for the final minute of cooking.
Best Wine Pairings for Scallops
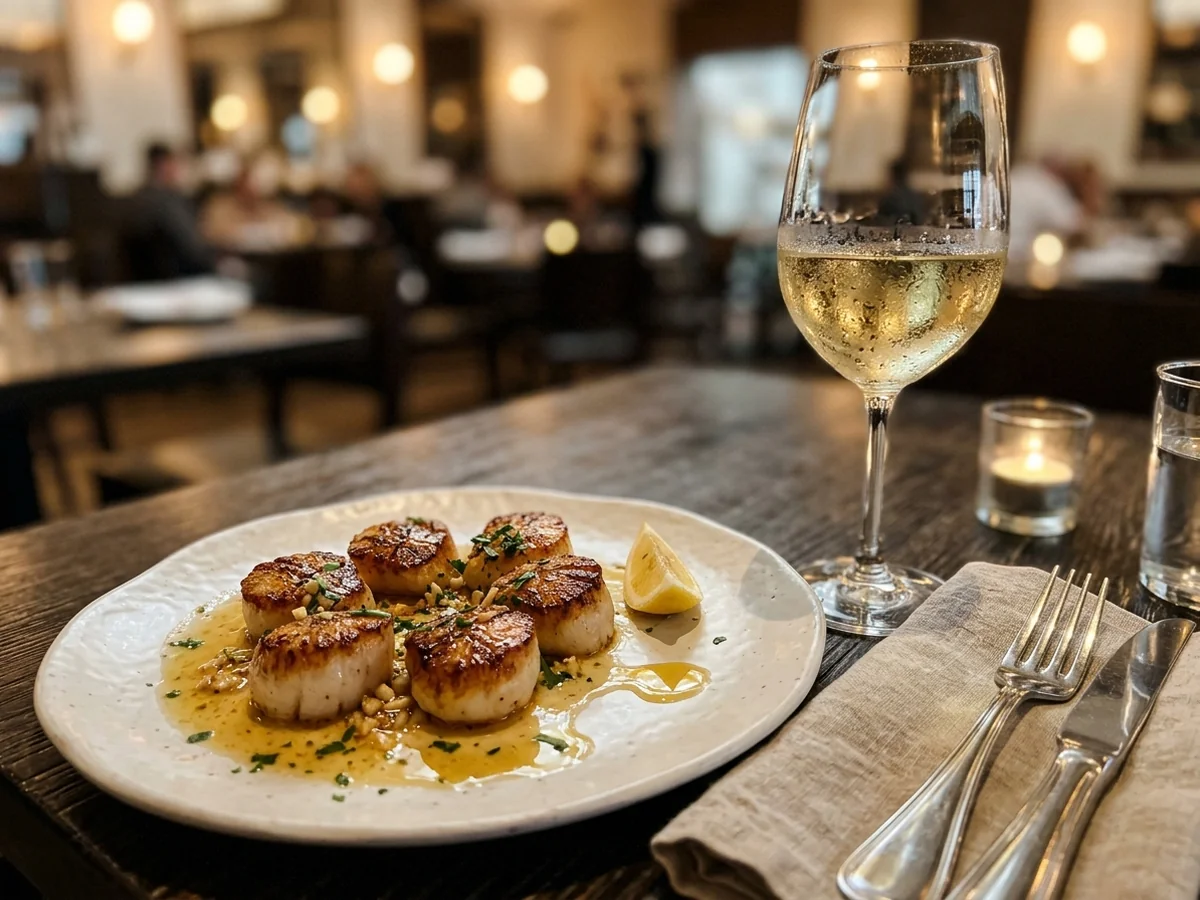
Choosing the right drink to accompany garlic butter seared scallops depends on balancing rich fats with bright, clean flavors. Because the dish features a buttery sauce and a naturally sweet seafood profile, the ideal wine must cut through the weight of the fat without masking the delicate taste of the protein.
Dry white wines with high acidity serve as the traditional standard for seafood pairings. Options like Sauvignon Blanc, Pinot Grigio, and dry French Chablis offer the structural brightness needed to cleanse the palate after every rich bite. Their natural citrus notes complement the sweetness of the shellfish, creating a balanced contrast on the palate.
Unoaked Chardonnay represents another strong choice for garlic butter seared scallops. Unlike heavily oaked varieties that can overwhelm lighter proteins, an unoaked style provides enough body to match the richness of the dish while maintaining a crisp finish. When browsing for bottles, look for labels from cool climate growing regions, as those areas naturally produce grapes with the high acidity required for rich seafood preparations.
Red wine lovers can also find success, though careful selection is necessary to avoid clashing flavors. A light and chilled Pinot Noir works well under specific conditions, provided the tannins remain very low. Heavy tannins react poorly with tender seafood proteins, so keeping the red wine light prevents a metallic or bitter aftertaste.
Completing the meal involves keeping side dishes light and simple so the main course remains the focus. Consider pairing the plate with fresh lemon dressed arugula, roasted asparagus, or a light herb risotto. These accompaniments enhance the meal without adding unnecessary heaviness to the table.
Scallop Storage and Safety Tips
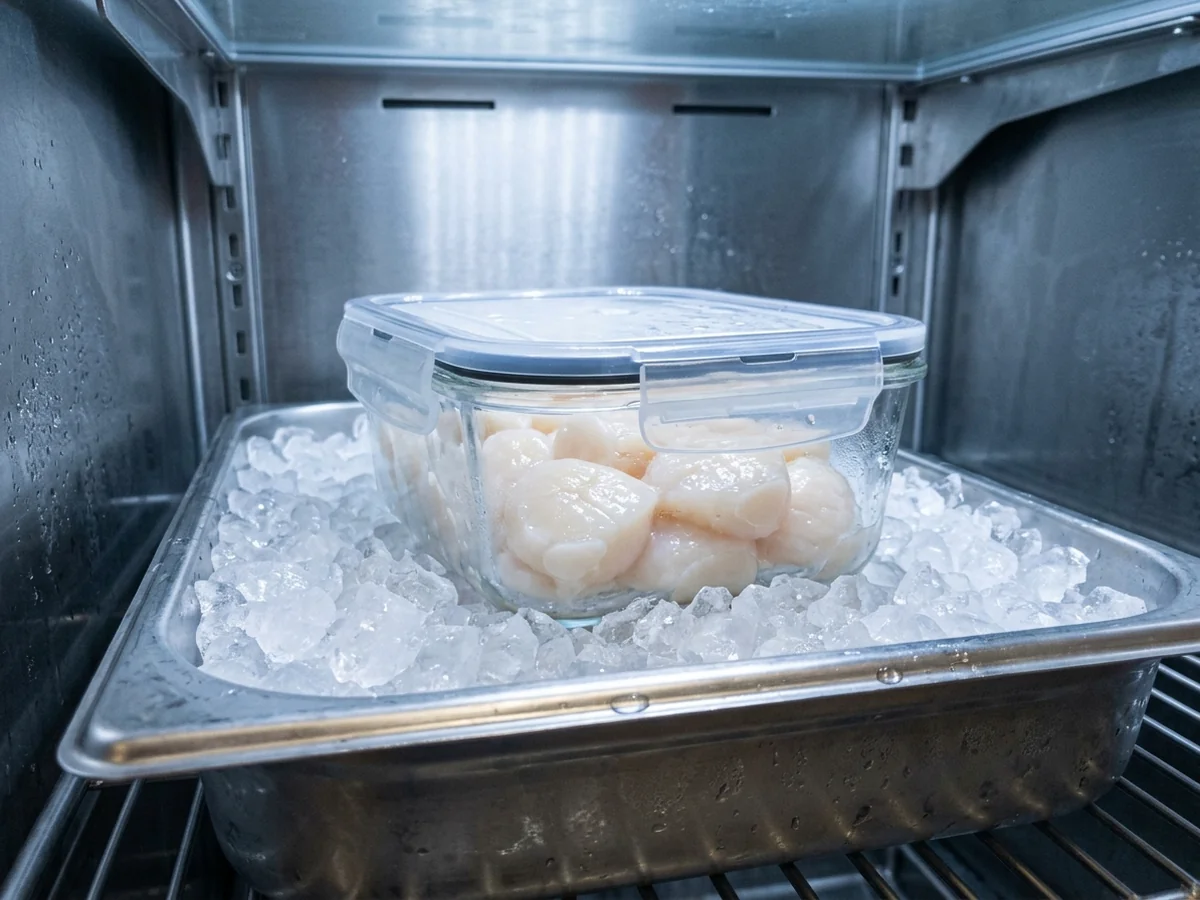
Safe handling of seafood requires following guidelines from the United States Department of Agriculture Food Safety and Inspection Service to prevent foodborne illness at home. Raw seafood demands careful temperature control, proper refrigeration, and strict hygiene in the kitchen to maintain quality. Because shellfish is highly perishable, understanding proper storage timelines and temperature thresholds helps protect both flavor and health.
Fresh seafood should be placed in the coldest part of the refrigerator immediately after purchase. Keeping the temperature at or below forty degrees Fahrenheit slows bacterial growth and preserves the delicate texture of sea scallops before cooking. If you are preparing your meals ahead of time, raw mollusks must be stored in a covered container and consumed within one to two days. Never leave raw seafood at room temperature for more than two hours, or one hour if the ambient temperature exceeds ninety degrees Fahrenheit.
Proper thawing is equally important when working with frozen shellfish. Always thaw frozen seafood in the refrigerator overnight rather than on the kitchen counter to keep the ingredients out of the danger zone where bacteria multiply rapidly. Rushing this process at room temperature increases the risk of spoilage and compromises the safety of the meal.
Discard any leftover cooked shellfish if it has been sitting out for too long. Cooked leftovers can be kept in a sealed container in the refrigerator for up to three days, though they taste best when enjoyed immediately after preparation. When reheating leftovers, ensure they are heated thoroughly to an appropriate temperature, and avoid storing cooked seafood alongside raw ingredients to prevent cross-contamination in the refrigerator.
Frequently Asked Questions
How do I know if scallops are fresh?
Fresh scallops should have a mild, sweet oceanic scent and firm, slightly translucent flesh. Avoid any seafood with a strong, sour, or overly fishy odor, as well as pieces that look milky, slimy, or discolored.
Why won’t my scallops brown?
Scallops fail to brown when excess moisture prevents the surface from achieving a proper crust, or when the pan is not hot enough. Overcrowding the skillet will also cause the seafood to release liquid and steam instead of searing.
Should I remove the side muscle?
Removing the small, tough side muscle improves the texture of the scallop before cooking. This small strip of tissue feels noticeably firmer than the rest of the meat and can easily be pulled off with your fingers.
What is the difference between wet and dry scallops?
Dry scallops contain no added preservatives, while wet versions are often treated with sodium tripolyphosphate to retain moisture. This added chemical causes wet varieties to release liquid during heating, making garlic butter seared scallops harder to crisp properly.
How long do I sear scallops for?
Scallops cook rapidly and generally require only 2 to 3 minutes per side for medium-rare to medium doneness. Learning how to cook scallops in butter involves timing each flip carefully so the exterior develops a rich color while the center remains tender.
Conclusion
Mastering this classic seafood dish comes down to disciplined heat management and thorough surface prep. Keep your focus on getting the pan hot and keeping moisture away from the seafood before it hits the skillet. Serve the meal immediately while hot to enjoy the best texture and flavor.
You might also like: Sichuan-Style Crispy Chili Beef Stir-Fry