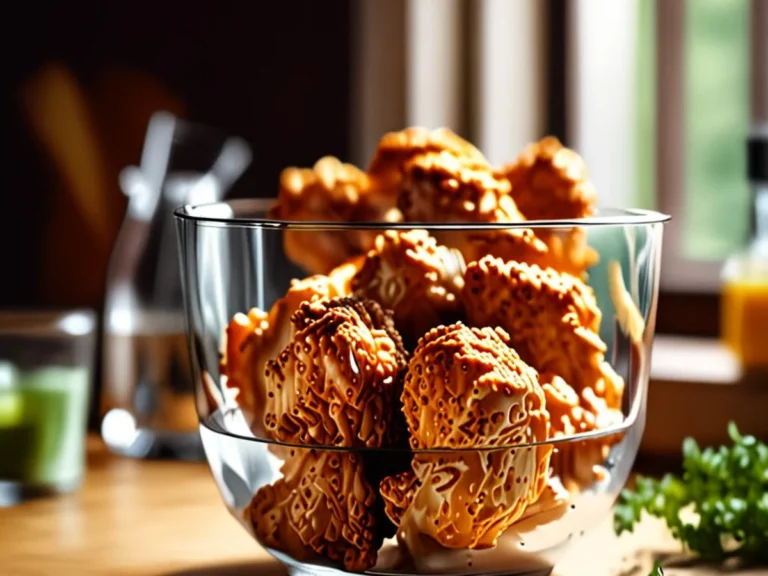
Crispy Buttermilk Chicken Sandwich Recipe
Introduction
You can create a restaurant-quality crispy buttermilk chicken sandwich at home by combining a tangy marinade with a double-dredge coating technique. This guide provides the essential steps to achieve a perfectly crunchy crust and tender interior while ensuring food safety standards are met throughout the cooking process.
This article covers everything you need to master your homemade version, including the ideal marination timelines and how to manage cooking temperatures for optimal results. You will find professional tips for using a buttermilk substitute, instructions on how to maintain crispness, and guidance on how to store and reheat leftovers properly. By following these methods, you can avoid the common pitfalls of soggy breading and uneven cooking, resulting in a consistent, high-protein meal that fits into your weekly dinner rotation.
Ingredients for Crispy Chicken
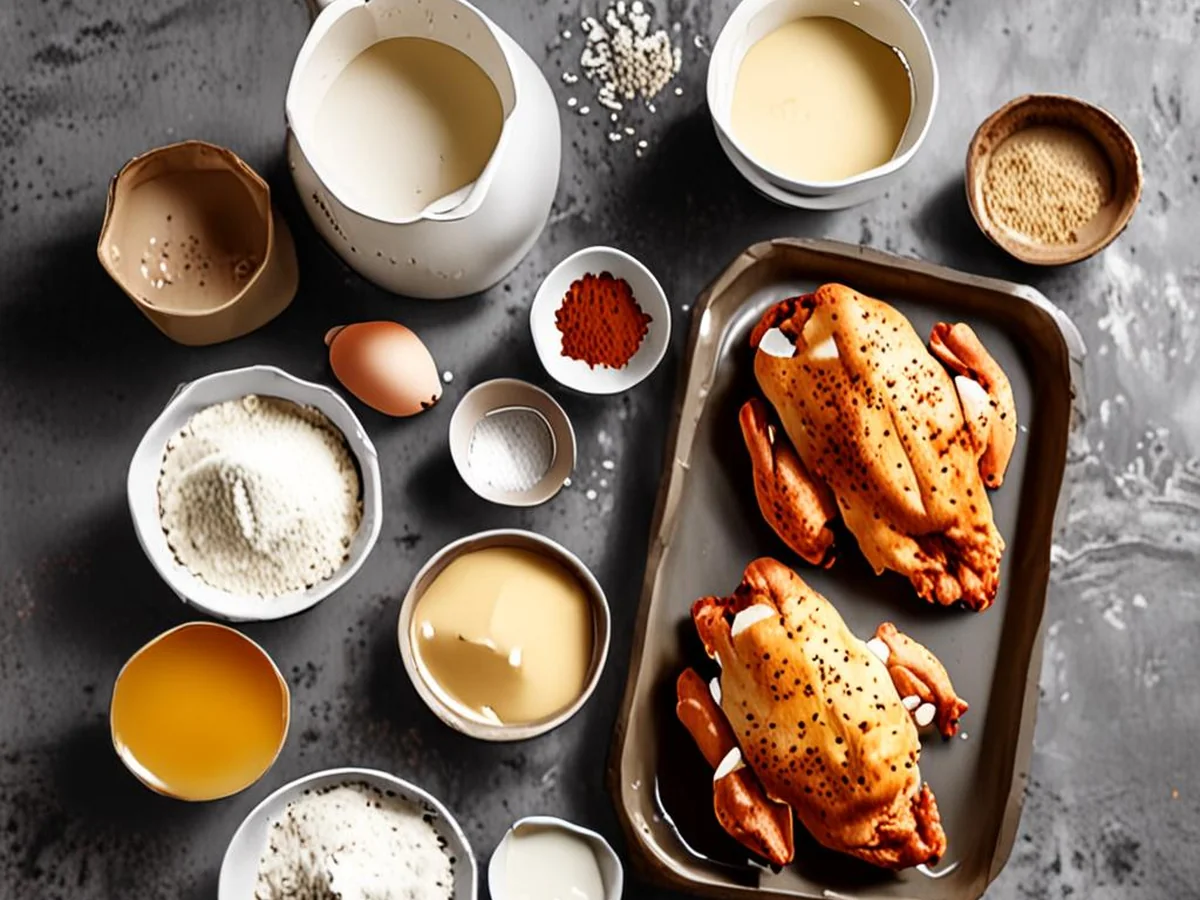
Achieving a restaurant-quality crispy buttermilk chicken sandwich at home relies on understanding how specific ingredients interact to create texture and flavor. The goal is a succulent, tender interior protected by a durable, golden crust that stays crunchy even after the initial bite.
The Role of the Buttermilk Marinade
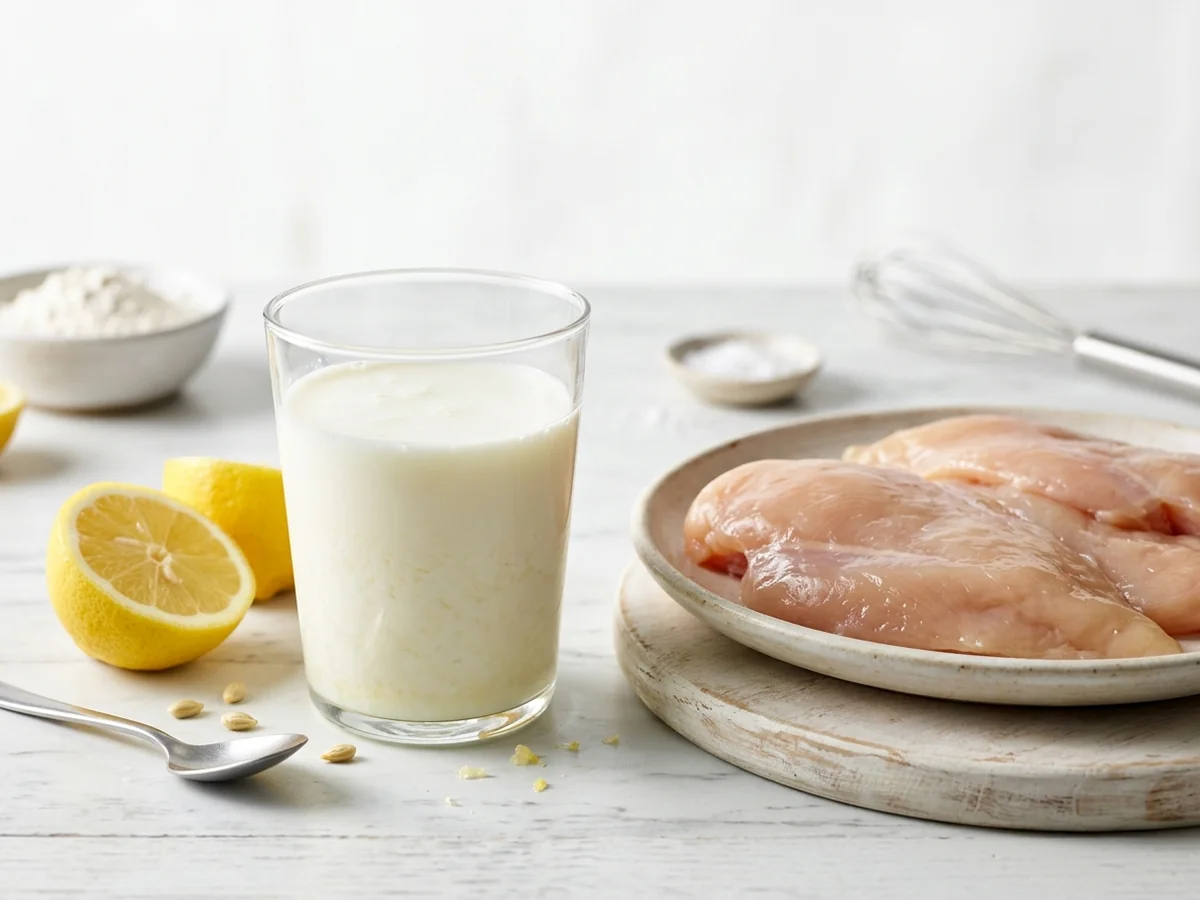
Buttermilk is more than just a flavor enhancer. As a mildly acidic dairy product, it acts as a tenderizer by breaking down muscle fibers in the protein. This process ensures the meat remains juicy during the cooking process, whether you are preparing a spicy buttermilk fried chicken sandwich or a classic version. While common guidance suggests a minimum marination time of 4 hours to see these benefits, the USDA states that chicken can safely remain in a buttermilk marinade for up to 48 hours.
If you find yourself without this ingredient, you do not need to pause your meal prep. According to North Dakota State University, you can create an effective buttermilk substitute by mixing one cup of whole milk with one tablespoon of white vinegar. Let this mixture sit for a few minutes until it thickens slightly before adding your chicken.
Selecting and Coating Your Protein
Choosing the best chicken cut for sandwiches depends on your preference for fat content and texture. Chicken thighs offer a higher fat content that remains juicy under high heat, whereas chicken breasts provide a leaner, more traditional profile. Regardless of your choice, always use an instant-read thermometer to ensure the meat reaches the proper poultry internal temperature guidelines for safety.
To build a robust exterior, combine all-purpose flour with a small amount of cornstarch. The cornstarch is a secret weapon for maximizing crispiness, as it limits excessive gluten development in the crust, resulting in a lighter and more durable layer. When preparing your breading station, ensure your seasonings like salt, black pepper, garlic powder, and paprika are thoroughly mixed into the dry base.
| Ingredient | Purpose |
|---|---|
| Chicken (Breast or Thigh) | The primary protein source |
| Buttermilk | Tenderizing and moisture retention |
| All-purpose Flour | Structural base for the crust |
| Cornstarch | Enhancing surface crunch |
| Neutral Oil | High smoke point for frying |
Tips for Longevity and Texture
Learning how to keep fried chicken crispy after cooking is just as important as the frying process itself. Avoid stacking hot chicken on top of itself, as the steam will soften the crust. If you are experimenting with a fried chicken sandwich air fryer recipe, ensure you do not overcrowd the basket, as air circulation is necessary for a uniform crunch.
Should you have leftovers, common practice is to place the chicken into a sealable container and keep it chilled for no more than 3 days. To restore the texture, common guidance recommends reheating the chicken in an oven at 350 degrees Fahrenheit for 10 to 15 minutes. This method helps draw out moisture from the coating, returning the crust to its original state better than a microwave ever could.
Choosing Your Chicken Cut
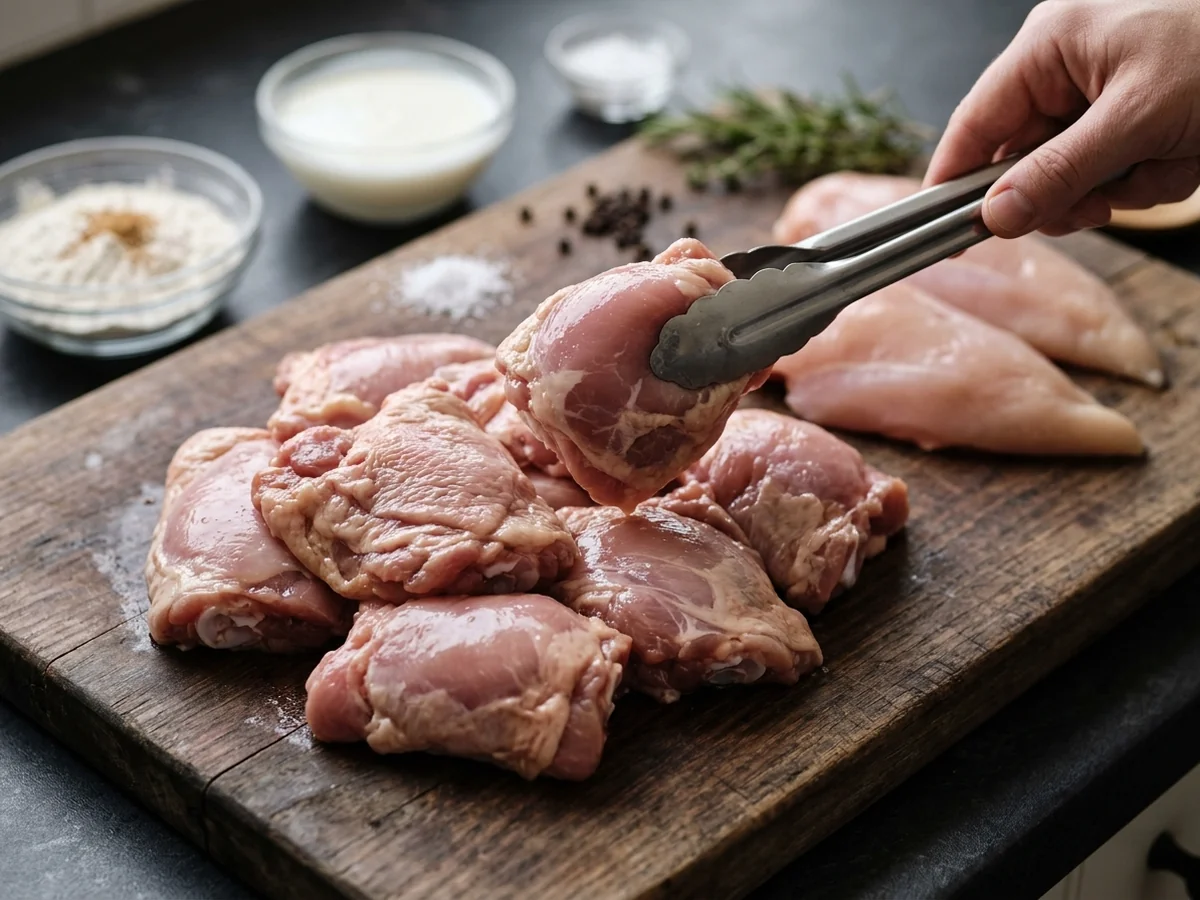
Selecting the best chicken cut for sandwiches is the first step toward achieving professional results at home. Thigh meat is widely considered the superior choice for a crispy buttermilk chicken sandwich. Because thighs have a higher fat content than breasts, they remain succulent and forgiving during the high-heat frying process. While chicken breast is leaner and firmer, it can easily dry out if overcooked, making it a challenging choice for those seeking a juicy, tender bite.
Understanding Texture and Tenderness
The difference between these cuts lies in muscle structure and fat distribution. Breast meat features a tighter grain that can become stringy or tough if subjected to excessive heat. In contrast, thighs contain more connective tissue that renders down during cooking, resulting in a melt-in-your-mouth texture. This natural richness creates a robust flavor profile that pairs perfectly with a thick, seasoned batter. Whether you are aiming for a classic version or a spicy buttermilk fried chicken sandwich, thighs provide the consistency needed to hold up against various toppings.
Preparation for Even Cooking
Uniform thickness is vital for even heat distribution. If a piece of chicken has thick and thin sections, the edges may burn before the center reaches the safe internal temperature. To ensure your sandwich reaches the perfect level of crispness, follow these preparation steps:
- Trim away excess fat or gristle to ensure a clean bite and uniform appearance.
- Place the meat between two sheets of plastic wrap to prevent splattering during preparation.
- Use a meat mallet or the flat side of a heavy skillet to gently pound thicker sections until the entire piece has a consistent thickness of one half-inch to three quarters of an inch.
- Avoid over-pounding, which can tear delicate muscle fibers and lead to a mushy texture after frying.
The Role of Marination
Once your meat is uniform in size, marination is essential for flavor and texture. Buttermilk acts as a mild tenderizer for chicken, helping to break down proteins for a softer final product. Typical practice suggests marinating for at least 4 hours, though the USDA confirms that chicken remains safe to marinate in buttermilk for a duration of up to 48 hours.
If you find yourself without buttermilk, you can create a substitute by mixing one cup of whole milk with one tablespoon of white vinegar. Proper marination not only infuses flavor but also helps the batter adhere to the meat, which is critical for knowing how to keep fried chicken crispy once it exits the oil or the air fryer. Always use an instant-read thermometer to verify that the poultry has reached the required safe internal temperature before serving.
Mastering The Buttermilk Marinade
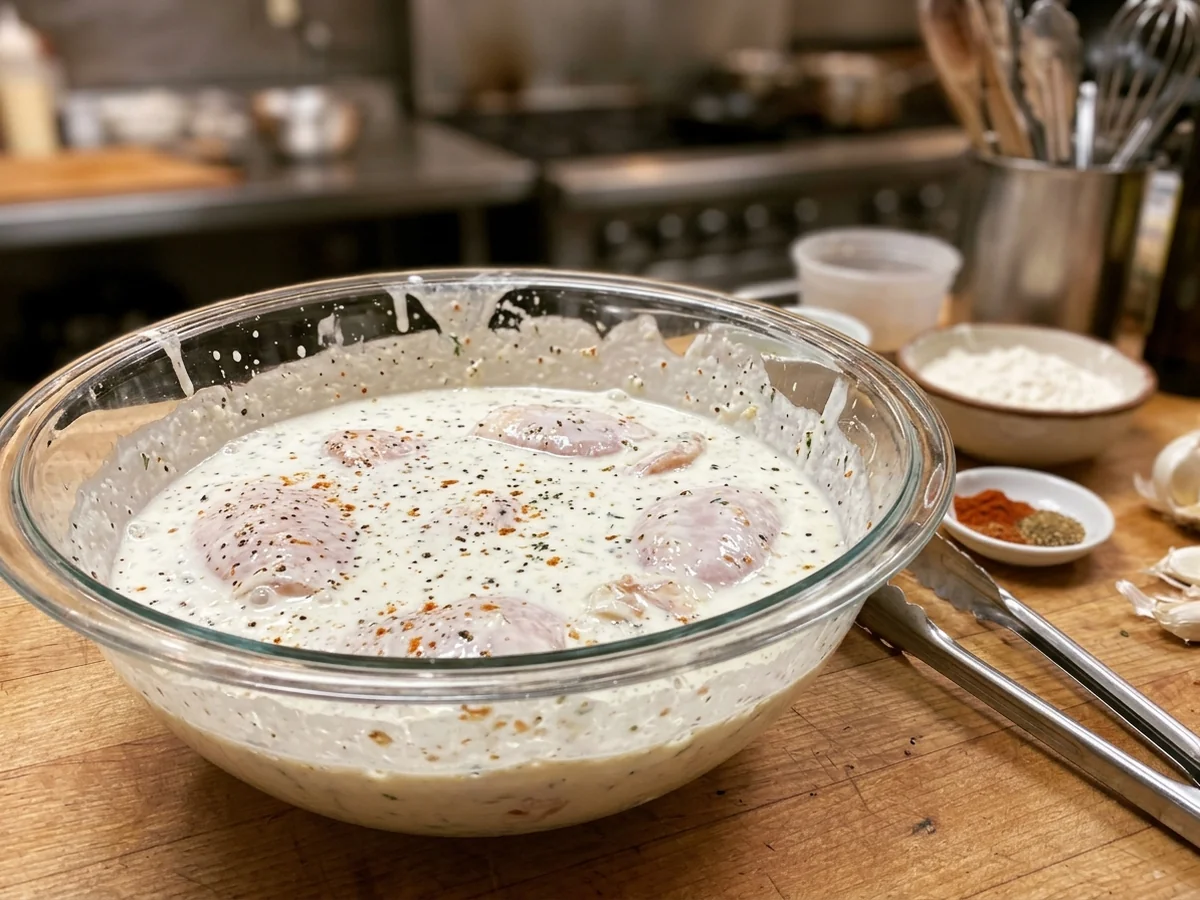
The secret to a perfect crispy buttermilk chicken sandwich lies in the preparation of the protein. Buttermilk is not just a liquid ingredient: it serves as a mild acidic agent that works to tenderize chicken fibers. Because it is less aggressive than citrus or vinegar based marinades, it softens the meat without compromising its structural integrity. This ensures the chicken remains succulent throughout the frying process, preventing the dry, stringy texture that often plagues home-cooked poultry.
When learning how to make buttermilk marinade, it is helpful to understand the ideal timeframes for flavor development. While the acid begins its work quickly, common culinary practice suggests a minimum of 4 hours for the marinade to effectively permeate the chicken. For those planning a meal in advance, there is no need to worry about over-marinating within standard timeframes. According to the United States Department of Agriculture, it is safe to keep chicken in a buttermilk marinade for up to 48 hours. Staying within this 48-hour window maintains both the safety and the quality of your ingredients.
A common mistake when preparing a crispy buttermilk fried chicken sandwich is overcrowding the bowl or using too little marinade. Ensure the chicken pieces are completely submerged. If you find yourself in the middle of meal prep without the primary dairy ingredient, you can easily create an effective substitute. A buttermilk substitute can be made by mixing one cup of whole milk with one tablespoon of white vinegar. This combination creates the necessary acidic environment to achieve the same tenderizing effect as store-bought buttermilk, making it a reliable solution for your kitchen.
To achieve the best results for your sandwich, consider the cut of meat you are using. While chicken breast is a popular choice for its lean profile, chicken thighs offer a higher fat content that stays moist under high heat. Regardless of your choice, always use an instant-read thermometer to check that your poultry reaches the appropriate internal temperature guidelines before serving. By controlling your marinade time and using these simple preparation techniques, you create the ideal foundation for a restaurant-quality meal at home.
Essential Buttermilk Substitutes
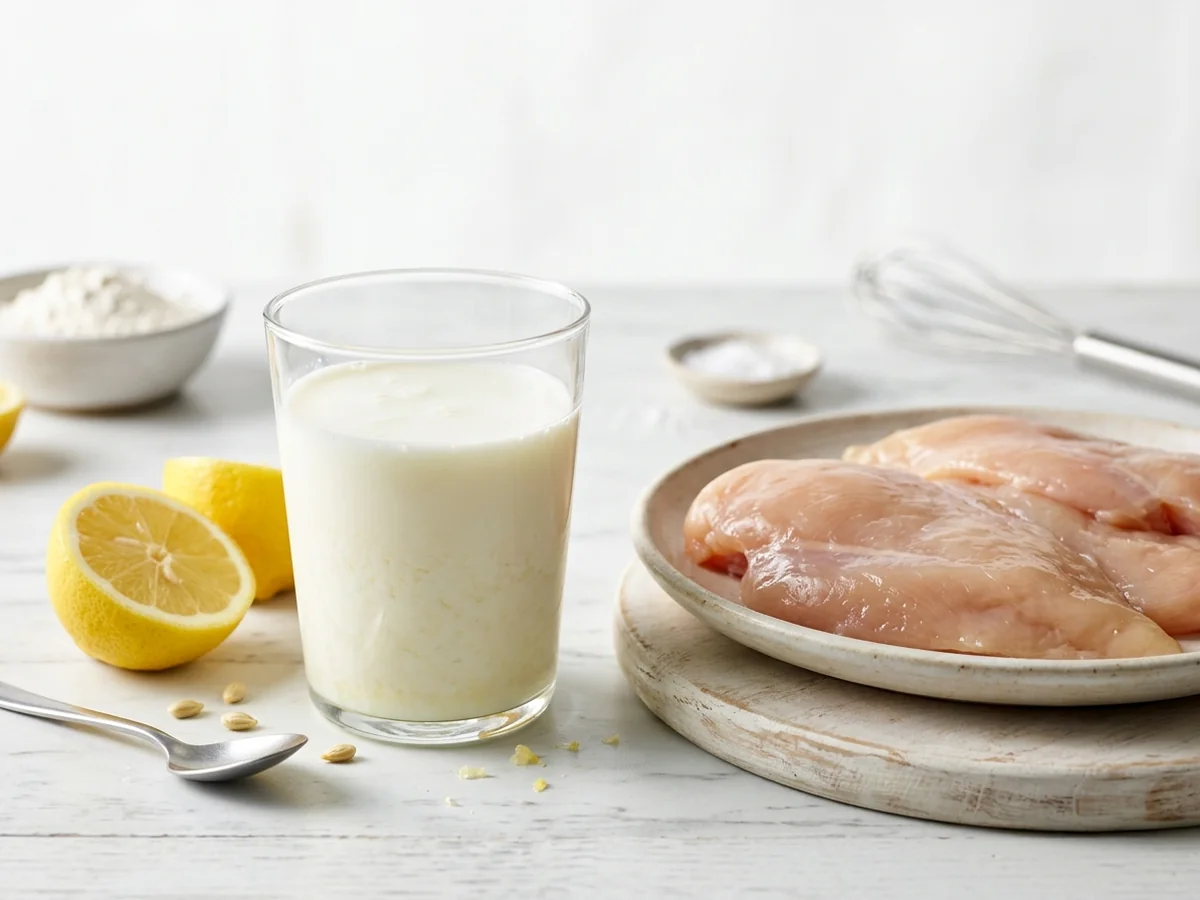
When you are ready to prepare a crispy buttermilk chicken sandwich, not having the primary dairy ingredient in your refrigerator should not derail your plans. Buttermilk provides the necessary acidity to break down muscle fibers and tenderize the meat, ensuring a succulent interior that contrasts perfectly with a crunchy breading. If you find yourself without it, you can easily replicate this chemical reaction at home using common pantry staples.
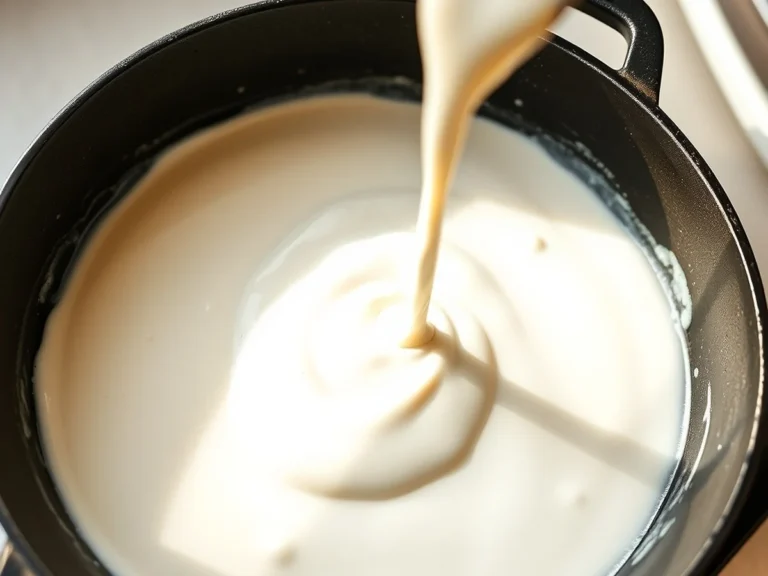
The most reliable way to mimic store-bought buttermilk is to combine one cup of whole milk with one tablespoon of white vinegar. After stirring these two ingredients together, allow the mixture to sit undisturbed for five to ten minutes. During this time, the acidity from the vinegar reacts with the milk proteins, causing the liquid to thicken and curdle slightly. This visual change confirms the mixture is ready to use for your marinade.
Understanding how to make a buttermilk marinade effectively is the first step toward achieving a restaurant-quality texture. Once prepared, you can use this homemade substitute in the exact same way you would use the traditional product. Because the acidity is key to the process, avoid using low-fat or skim milk, as the higher fat content in whole milk provides a better mouthfeel and helps the breading adhere to the meat.
When applying this method to your poultry, keep these practical guidelines in mind:
- Marination time: While four hours is a common minimum recommendation to achieve adequate tenderization, you have flexibility.
- Food safety: According to the USDA, you can safely marinate poultry in this liquid for up to 48 hours.
- Consistency: Always ensure your meat is fully submerged in the liquid to guarantee uniform texture throughout the chicken breast or thigh.
A common mistake is rushing the marination process or using an acidic component that is too weak. By using the milk and vinegar ratio, you ensure the poultry maintains its structural integrity while becoming tender enough to bite through easily. This approach allows you to move forward with your recipe without an extra trip to the store, ensuring your final sandwich remains tender on the inside while maintaining a crispy exterior once fried or prepared in an air fryer.
Cooking Methods For Crispiness
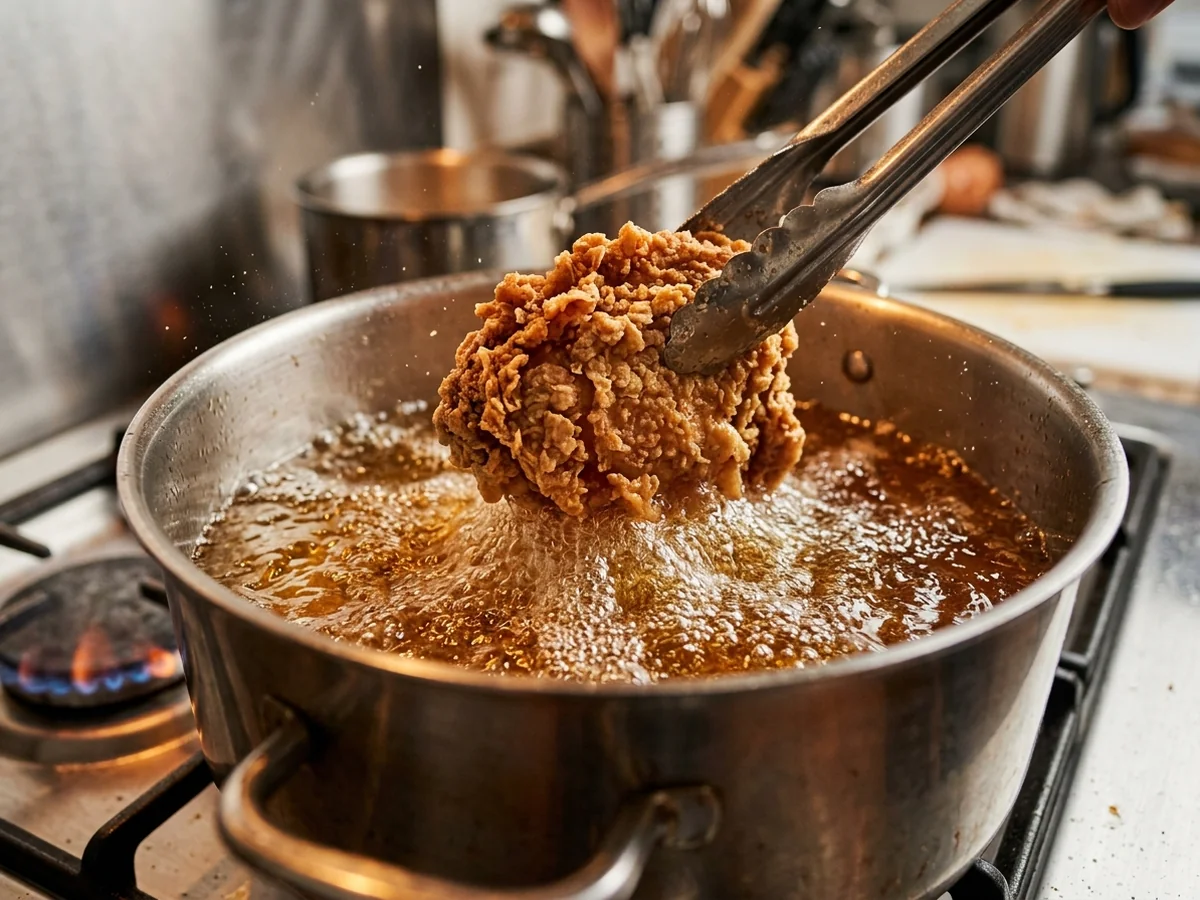
Achieving a golden, crunchy coating depends on your choice of cooking method and how well you manage heat levels. Deep frying is the gold standard for creating a uniform, shatteringly crisp exterior because the hot oil completely surrounds the protein. This submersion ensures rapid, even browning of the flour coating. In contrast, shallow frying requires turning the meat, which can lead to uneven crust development or patches that lack the desired texture.
Maintaining the right oil temperature is essential to avoid soggy results. If the heat is too low, the breading absorbs excessive grease before it has a chance to crisp up, leading to a heavy, oily mouthfeel. Using a neutral cooking oil with a high smoke point is vital for steady temperature control. An instant-read thermometer helps you monitor the oil consistently throughout the process, ensuring it stays in the ideal range to seal the exterior quickly without burning the coating.
For those seeking a lower oil alternative, a fried chicken sandwich air fryer recipe is an effective option. This method uses circulating hot air to dehydrate the surface of the breading, creating a crunch that mimics deep frying with significantly less fat. While the texture differs slightly from traditional frying, it remains a popular choice for quick meals. To maximize success with this method, lightly mist the coated meat with oil before starting, as this helps the dry flour hydrate and turn golden brown.
Regardless of the method you choose, proper preparation is the foundation of texture. Follow these practices to ensure the best results:
- Always pat the meat dry after marinating to ensure the flour coating adheres properly.
- Use a wire rack to rest the cooked meat, which allows air to circulate underneath and prevents moisture from building up on the bottom.
- Avoid overcrowding the pan or the basket, as this causes the temperature to drop and creates steam instead of crispiness.
- Follow established poultry internal temperature guidelines to ensure the meat is cooked through safely while maintaining its juiciness.
Mastering how to keep fried chicken crispy is largely about moisture management. Even with the perfect cooking technique, steam is the enemy of a crunchy coating. By resting the meat on a rack and avoiding stacking the finished pieces, you prevent the residual heat from softening the crust. This simple step keeps your final result satisfyingly crunchy until the very last bite.
Internal Temperature for Chicken
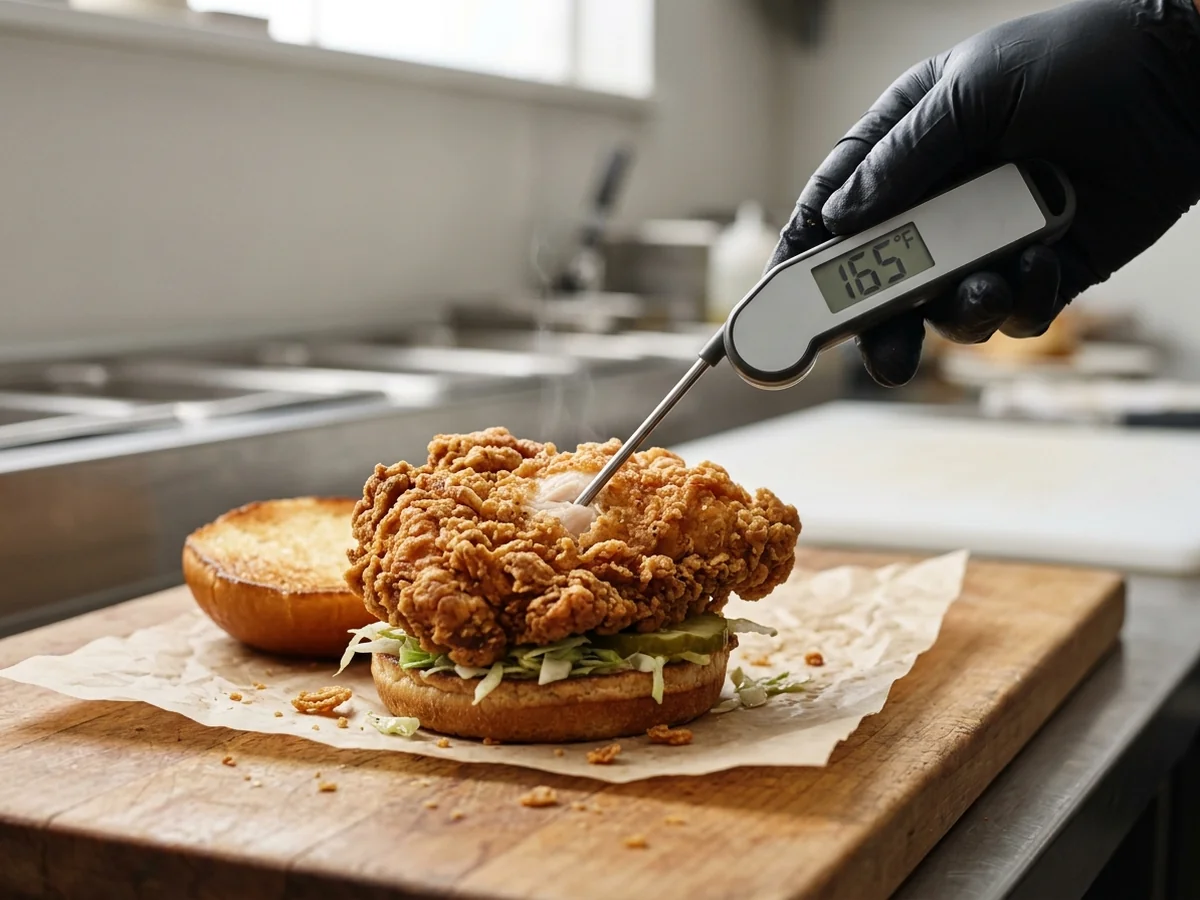
To ensure your crispy buttermilk chicken sandwich is both safe to eat and perfectly cooked, you must use an instant-read thermometer. Relying on visual cues or timer estimates is unreliable, as thickness varies between cuts. According to food safety guidelines, poultry must reach a safe internal temperature of 165 degrees Fahrenheit. This temperature is the recognized threshold for effectively eliminating harmful bacteria.
Achieving the Perfect Texture
Cooking chicken to the correct temperature is a balancing act between safety and moisture. If you remove the meat from the oil too early, it remains undercooked. Conversely, leaving it in the oil for too long results in dry, tough poultry. The goal is to hit 165 degrees Fahrenheit quickly so that the exterior coating remains crisp while the interior stays juicy. When preparing your sandwich, choosing the right cut is essential. While chicken breast is a popular option for its lean profile, chicken thighs are often preferred for sandwiches because their higher fat content makes them more forgiving during high-heat cooking, resulting in a tender, succulent bite.
Managing Oil Heat and Safety
Monitoring the temperature of your cooking medium is just as vital as checking the meat itself. Every cooking oil has a specific smoke point, which is the temperature at which the oil begins to break down and release acrid smoke. If your oil exceeds this threshold, it will impart a burnt flavor to the crust that masks the seasoning and the tang of the buttermilk marinade. To maintain a clean flavor profile and prevent the exterior from burning before the inside reaches a safe temperature, follow these practices:
- Choose a neutral cooking oil with a high smoke point, such as canola, vegetable, or peanut oil.
- Use a clip-on or digital thermometer to monitor the oil temperature consistently throughout the frying process.
- Adjust your stove heat in small increments to keep the oil temperature stable. If the heat drops too low, the coating will absorb excess oil and become greasy rather than crispy.
Preparation and Storage Tips
The success of your meal begins long before the chicken hits the oil. Buttermilk is a highly effective tenderizer for the best chicken cut for sandwiches. According to the USDA, you can keep chicken in a buttermilk soak for up to 48 hours, though 4 hours is generally recommended as the minimum time to achieve the desired tender texture. If you are in a pinch and lack buttermilk, you can create a reliable substitute by mixing one cup of whole milk with one tablespoon of white vinegar.
If you have leftovers, common practice is to store cooked chicken in an airtight container in the refrigerator for up to 3 days. When you are ready to enjoy it again, it is generally recommended to reheat the chicken in an oven at 350 degrees Fahrenheit for 10 to 15 minutes to help restore its crispness.
Storage And Reheating Tips
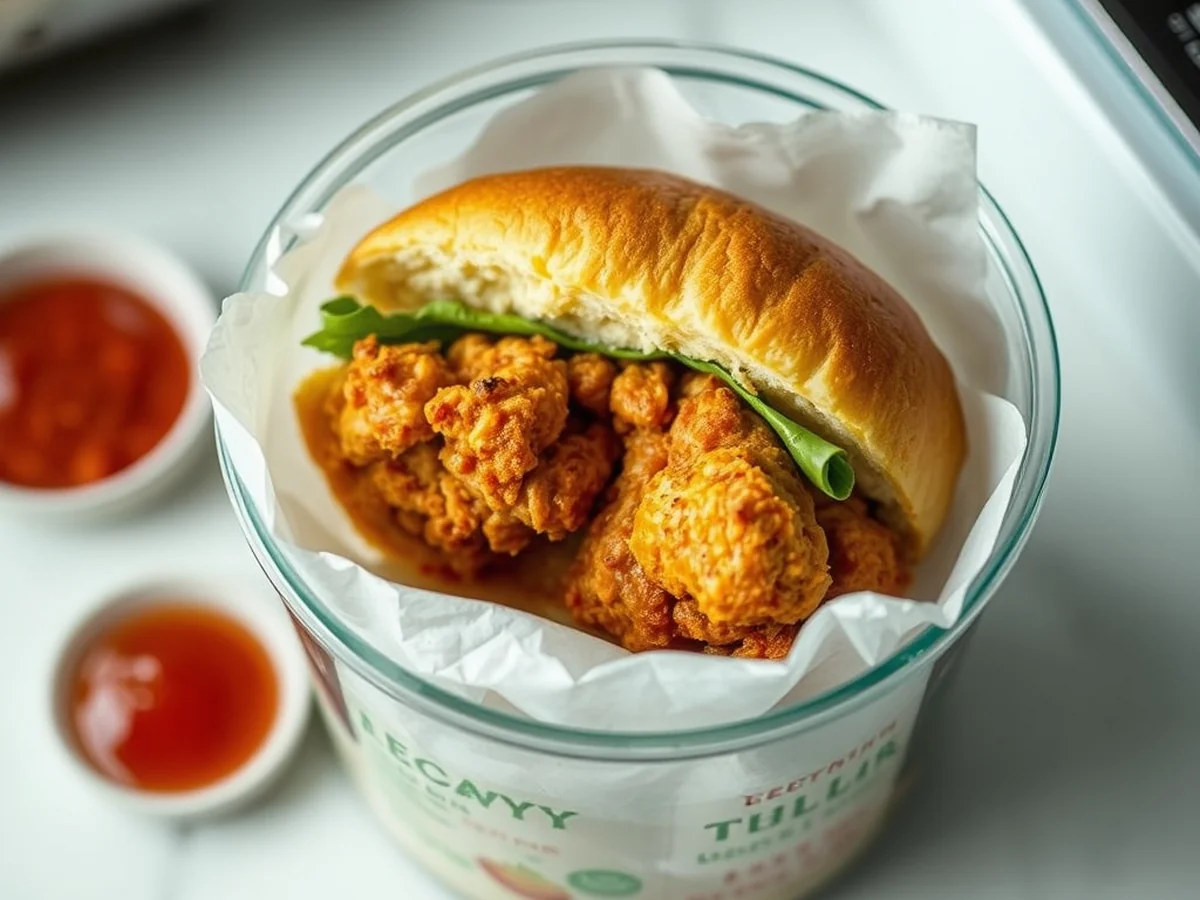
Handling your crispy buttermilk chicken sandwich components with care ensures that your leftovers remain safe and just as enjoyable as your first meal. Common guidance suggests that you can store leftover fried chicken in an airtight container in the refrigerator for up to 3 days. To maintain the best quality, always allow the chicken to cool to room temperature before sealing it away. Trapping residual heat in a container can create excess condensation, which inevitably softens the breading and ruins that signature crunch.
The Importance Of Separation
A common mistake when storing leftovers is keeping the chicken and sandwich toppings, such as lettuce, pickles, or mayonnaise, together. For the best results, store the fried chicken separately from your bun and fresh vegetables. If you assemble the sandwich before refrigerating, moisture from the produce will migrate into the breading, making it impossible to restore the texture during reheating. Keeping these components apart is essential for anyone aiming to replicate that fresh-from-the-fryer experience.
Best Practices For Reheating
When you are ready to eat, avoid the microwave. Microwaves generate steam during the heating process, which turns a once-crispy coating into a soggy, unappealing layer. Because your goal is to retain the crunch, dry heat is your most effective tool for restoration.
The most reliable way to reheat your chicken is in an oven preheated to 350 degrees Fahrenheit. Following common guidance, place the chicken pieces on a wire rack set over a rimmed baking sheet. This setup is crucial because it allows hot air to circulate underneath the pieces rather than letting them sit in their own moisture. Heat the chicken for 10 to 15 minutes, or until the exterior is sufficiently crisp and the meat is warmed through. If you are preparing a fried chicken sandwich air fryer recipe, you can also use your air fryer to reheat at a slightly lower temperature for 3 to 5 minutes, which often yields excellent results for maintaining a crisp finish.
Pro Tips For Future Batches
Proper preparation is just as important as storage. According to the USDA, you can keep chicken in a buttermilk marinade for a maximum of 48 hours. While this process helps tenderize the meat, 4 hours is typical practice if you are short on time. If you find yourself in a pinch for ingredients while preparing your next batch, a buttermilk substitute can be made by mixing one cup of whole milk with one tablespoon of white vinegar. Always verify that your chicken has reached the appropriate poultry internal temperature guidelines before serving to ensure both safety and optimal texture.
FAQ
How long should you marinate chicken in buttermilk?
The USDA confirms that raw chicken can stay in a buttermilk marinade for a maximum of 48 hours. Most home cooks find that a minimum of 4 hours is the typical starting point to ensure your crispy buttermilk chicken sandwich develops the right flavor and texture.
Can I substitute buttermilk if I don’t have it on hand?
You can make a reliable buttermilk substitute by combining one cup of whole milk with one tablespoon of white vinegar. Let the mixture sit for a few minutes until it thickens before using it in your batter.
Is it better to use chicken breast or thighs for sandwiches?
Choosing between chicken breast or thighs for your sandwich depends on your preference for texture and moisture. Chicken breasts provide a leaner, uniform shape that fits buns perfectly, while thighs offer a higher fat content that stays juicy and flavorful during the frying process.
How do you store and reheat leftover fried chicken?
It is common practice to store leftover fried chicken in an airtight container in the refrigerator for up to 3 days. To restore the crunch when reheating, it is typical to place the chicken in an oven at 350 degrees Fahrenheit for 10 to 15 minutes.
Does buttermilk act as a tenderizer for chicken?
Buttermilk acts as an effective tenderizer because its natural acidity breaks down the protein structures in the meat over time. This process results in a significantly more tender final product compared to marinating in plain water or oil-based mixtures.
Conclusion
The main decision point for your next meal is choosing whether to cook your chicken immediately or prepare it in advance for a deeper flavor. According to the USDA, it is safe to keep chicken in a buttermilk marinade for a duration of up to 48 hours. Many home cooks find that a minimum of four hours provides the best results for a tender, flavorful interior. If you do not have buttermilk on hand, you can make a substitute by mixing one cup of whole milk with one tablespoon of white vinegar.
Once you have mastered these steps, you are ready to assemble your perfect crispy buttermilk chicken sandwich. If you end up with leftovers, it is common practice to store them in an airtight container in the refrigerator for up to three days. When you are ready for round two, reheating the chicken in an oven at 350 degrees Fahrenheit for 10 to 15 minutes is a reliable way to restore that signature crunch.
Sources: fsis.usda.gov, ndsu.edu
You might also like: Classic Bacon Egg and Cheese Sandwich